Showing posts sorted by date for query paint cabinets. Sort by relevance Show all posts

DIY Concrete Countertops - Finishing

Alright, where did we leave off on the concrete countertops?  Oh yeah, the SINK!  I can feel that ugh feeling coming right on back...

(Pssst...click here to read about the Part I of our new countertops.)

In our first post about the prepping and pouring, I wrote about how much of a pain it was to install the sink form.  We hoped the pain would end once the concrete was poured but when we removed the form, we had all these big voids.

The frustration was real but we had to move on and start with the process of finishing the counters before we figured out how to make the sink look better.  So, let's talk about the finishing and come back to the sink.

With the concrete completely dry (about five days after pouring), it was time to grind them down so the tops were smooth.  Even with screeding and then floating the concrete after it was poured, the counters still felt rough to the touch, slightly more smooth than something like our sidewalk but definitely not smooth enough for a kitchen sponge to glide over.

Easter / Spring Mantel

We are not so great at all-out decorating for every holiday, big or small.  Christmas is the one holiday we do more than usual; this year we even managed to hang lights outside and we felt really accomplished.  But holidays like Easter don't see much of a change around our casa.  (I mean, Easter baskets sitting around and crosses already hanging on the walls count, right?)  But this year, I pulled a Bonnie Engstrom and decorated the mantel for Easter.  It needed a good dusting last week and one thing led to another and by the end of cleaning the mantel shelf, I had a whole new set up.


It doesn't scream bunnies and eggs (because in all honesty, I'm not a huge fan of that dang Easter bunny) but it's a simple nod to the reason for the season.

DIY Concrete Countertops - Prep & Pour

Last year, I wrote a post all about our kitchen plans and in that post I mentioned concrete countertops were on the docket.  Well, here we are, many moons later excitedly crossing that off our list.  And boy, are we glad we can.  What. A. Process. it's been.

The kitchen isn't finished yet - we still have more painting and floors to tackle - but it's gotten to the point where it's skipped right on over the dated to modern line and our new countertops have a huge part to play in that.  


Here's where we started three long years ago:

I painted the cabinets a few months ago and I know that really helps up the ante too.  A post on those will come but today, I'm going to share the beginnings of how we prepped the kitchen for those new counters and poured them in place.  I was going to write a whole big post on the prep, the pour, and the finishing but just adding photos was a bajillion pages so we'll split it up so you can chew it all without choking. 

How To Make a Rug Stay In Place

Rollin' in here quick with a spotty internet connection to tell you a little bit about a rug and how it was driving me nuts.

Last year, when I did a quick little makeover on the kids' bathroom, I laid down this rug* to top everything off.


Still love, love, love the rug but don't love, love, love how much it slid around.

Save My Seat

 Or, rather, seatS.  From my kids.  And maybe from myself too.  

We bought these chairs* several years ago when I was going through a big mid-century phase (haven't quite grown out of that one yet because it's a w e s o m e).  I found two of them at Dirt Cheap and two more on Amazon Warehouse - each pair a different color but at the time, I didn't mind because they were so cheap.  Sometimes logic leaves me when I see a good deal, what can I say?  So one pair had a gray upholstered seat and the other, an ivory seat.  The gray held up, the ivory?  With kids?  Chairs that we use every single day during meals?  Not so much.


Built-Ins - Fake It 'Til You Make It

 Hey!  I wish I was sitting here typing up a big kitchen update but alas, I'm not.  I'll blame it on fully enjoying our summer and I'm not mad about it in the least.  Actually, the drier fall air and milder temps will serve us better anyway when it comes to painting cabinet doors outside so you could even say that our lack of kitchen progress this summer is a blessing in disguise, paving the road for efficiency later.  Orrrr maybe that's just wishful thinking...  ;)

Anyway, I'm not here to talk about what we haven't done but something we did do.  It was a little project that only took a few hours one lazy Saturday afternoon.  Not only was it quick but it also itched that scratch that not doing anything creative for a few weeks can create.

It all happened in the reading room (music room?  library?  study?  We're not sure what to call it.)  We've known for at least a year that we want to line the back wall with bookshelves atop cabinets but that's a back burner project as we focus on other things.  For awhile, we improvised with a built-in we moved in from the living room (when we removed the wall between that and the kitchen, this built-in had to be moved) and an old secondhand shelf but that left a bare corner that we just used to store stuff like the vent hood that had to go up in the kitchen.


Not very aesthetically pleasing.  But then time marched on and I found chairs, the vent hood went out and up, supplies were relocated, I moved  in a small bookshelf from the kids' room, and topped it all off with some DIY art in a thrifted frame (tutorial here).

(More) Kitchen Plans

Putting this post together makes me SO excited to get this kitchen started...errr, finished!  We're zooming in on it next!  It won't be a super quick slide into the finish line since we're doing everything ourselves but we're hoping we can get it all in by summer's end, hopefully sooner.  I went into a little bit of detail about how we planned to open it up in the past but that's done and now it's onto the finer details of cabinet colors, counter tops, and a new backsplash.  Here's a peak of what we've nailed down so far:


Small Cabinet Makeover

Something I've had on my to-do list for a good long while now is to paint a small cabinet that's main function is to hold our Berkey water filter*.  The Berkey is awkwardly large as far as water filters go and if it weren't the best at filtering all the things, we'd probably ditch it for something smaller.  But, here we are with this big, chrome, bullet-looking thing in our kitchen. 


There isn't really a good place for it on our kitchen counter because it's so tall and takes up too much space so we kept hoping to find a small cabinet at just the right height that we could set on this small expanse of wall right beside the kitchen counter and obviously, found one.  


It was for sale on Facebook Marketplace for $10 and not only was it not the prettiest cabinet in the wide world, but the lady who sold it to me used it to store makeup and so it smells...like makeup.  It's a weird smell to have a cabinet giving off.  I knew the smell would eventually go away but that faux wood finish had to be dealt with.  Fast forward months and months when only this #letsroomtogether challenge could provide the motivation I needed to get this thing looking a little more like it fits in with it's surroundings.

Guest Room + Home Office Combo

We've only ever lived in three bedroom houses.  Our first house was a 3/1 (with a fourth bedroom and second bathroom finished shortly before we sold and moved), along with our second, third, and fourth houses.  It's great when you're newlyweds because then you have two extra bedrooms (we had a guest room and an office...spoiled) but with four kids, three bedrooms fill up quick with no space left for anything else.

So, we were excited this house around to find something with another bedroom.  The fourth bedroom in this house affords us a guest bedroom, which is fantastic since the closest family members we have live seven hours away.  But, with the right situating and set up, it also affords us a home office - something I really wanted so that I could have a designated place to sew.

We got really lucky in finding furniture secondhand for this room - furniture that is multi-functional so that we can fairly easily switch from home office mode to guest bedroom mode.

Home Office Mode


Pity Project

Sometimes our lives are so busy with keeping kids alive and thriving that we don't have time to take on or even complete any in-progress bigger house projects...like right now.  Although I will admit that there are a hefty amount times when I really have to convince myself to vacuum/cook/wash when what I really want to do is paint something.  When the imprudent thing is to project big, that's when I start to get antsy and seek out little ten minute projects I can do to satisfy that hunger.  This is one of them.  We'll call it a pity project.  :)

A couple of months ago, our coffee maker broke.  If you're anything like us, you love your morning coffee.  It's a routine; a ritual even.  For us, it's about the taste and feel of those moments when you can sip in peace in the morning before everyone wakes up (until they do and you're still sipping, just not in peace).  Maybe it's a little bit about that slight jolt caffeine gives you to start your day too.  So when our coffee maker breaks, well, uh-oh.  Chaos.  Shame too because it was so cute.

Ok, ok, there's really no chaos that follows a broken coffee maker.  It's really just a small thorn in the side.  We weren't left completely hanging though because we have a french press* we pull out once in awhile and it got pulled out daily until we got a replacement.  But there is nothing like the simplicity of an automatic maker, right?  But french press coffee just tastes so much better.  I know.  I've heard.  I drink my creamer with a side of coffee though so I really couldn't tell you the difference.  Anthony however, the black coffee drinker, will tell you that's true.  That's why we splurged a little bit this time around (we usually go for the $17 maker at Walmart or Target) and bought ourselves this coffee maker*.  I found it on Amazon awhile ago and saved it to one of our lists.  It has a shower sprayer, which we've heard is the best way to brew and a reusable filter which doesn't steal all of the oils in the grounds.  (Our friends run a coffee shop and I learned a ton about coffee this past summer talking with them!)  Well, when I went to buy, the red option was the cheapest (as compared to the white* that we really wanted) and there was a one like-new, on Amazon Warehouse for $35.  I jumped on it because I knew that I could probably either deal with the red for a lower price or remedy it.  Enter this pity project.

Here's our month-old maker:  


Except now it looks like this:

How to Paint Wood Paneling


My fingers haven't been so excited to type out a title for a long time.  It's one thing to be done painting the paneling but it's a whole 'nother feat to get up a tutorial about it - only took me a couple of months...HA!  It's a hefty one with a lot of carefully ordered steps to help you along if you've been thinking about laying a fresh coat on the wood paneling you've inherited.  We are certainly happy we took on the task.  The end result has us heck-yeahing and has our living room looking a bit more modern. 

We've painted painted wood paneling before in our rental, but we've never painted unpainted, stained and sealed wood paneling before so this was somewhat uncharted territory for us.  There are lots of tutorials written out there but I'm going to let you in on a few tips and tricks and everything we learned to show you a really efficient way to unload some paint onto those dated, paneled walls if you've got 'em and want to bring them into 2020.

First things first, like I said above, this is a doozy of a painting project.  It's not just slapping paint on a few walls and calling it a day.  There is prep and more prep involved and it can get tedious, so before you start, search and scroll through the abyss of photos on pinterest or google of "painted wood paneling" to absorb all the inspiration you can.  You'll need all that inspiration to turn into motivation.  Ok, ok.  Maybe I'm making this sound way harder than it is.  It's hard but it is SO worth the effort.  Take it one step at a time.  You can do this!  Here's our after (or so-far if we're including decorating) to add to the plethora you can log into that motivation bank:

Kids' / Guest Bathroom Plans - A Mood Board

 One of the rooms in our house that's been majorly neglected is the kids' bathroom, which is also the guest room when family/friends come visit.  It was wallpaper laden when we moved in...


and that, coupled with a cheap plastic shower curtain, worn cream trim, and some horrible orangey light bulbs made it look like it was part of an 80's time capsule.
 

Not in mint condition though because the tile grout was (and still is) stained and the paint on the cabinets started peeling off long before we moved in.  But, those are exactly the kinds of rooms we like, right?  

Righty-o.

We got as far as getting the wallpaper off, hanging a much better shower curtain, and attempting to remove the popcorn ceilings (they're oil-based-painted on and going nowhere...womp womp) but that's about it.  


Then she sat and sat and sat.  Very much used by the kids but very much neglected.  We looked away when water got splashed on the drywall from showers but we can't push it off much longer.  We've got to get that drywall sealed and painted before worse things happen.  And while we're at that, might as well take it to the next level and touch up a few other things.  Snowball effect.   

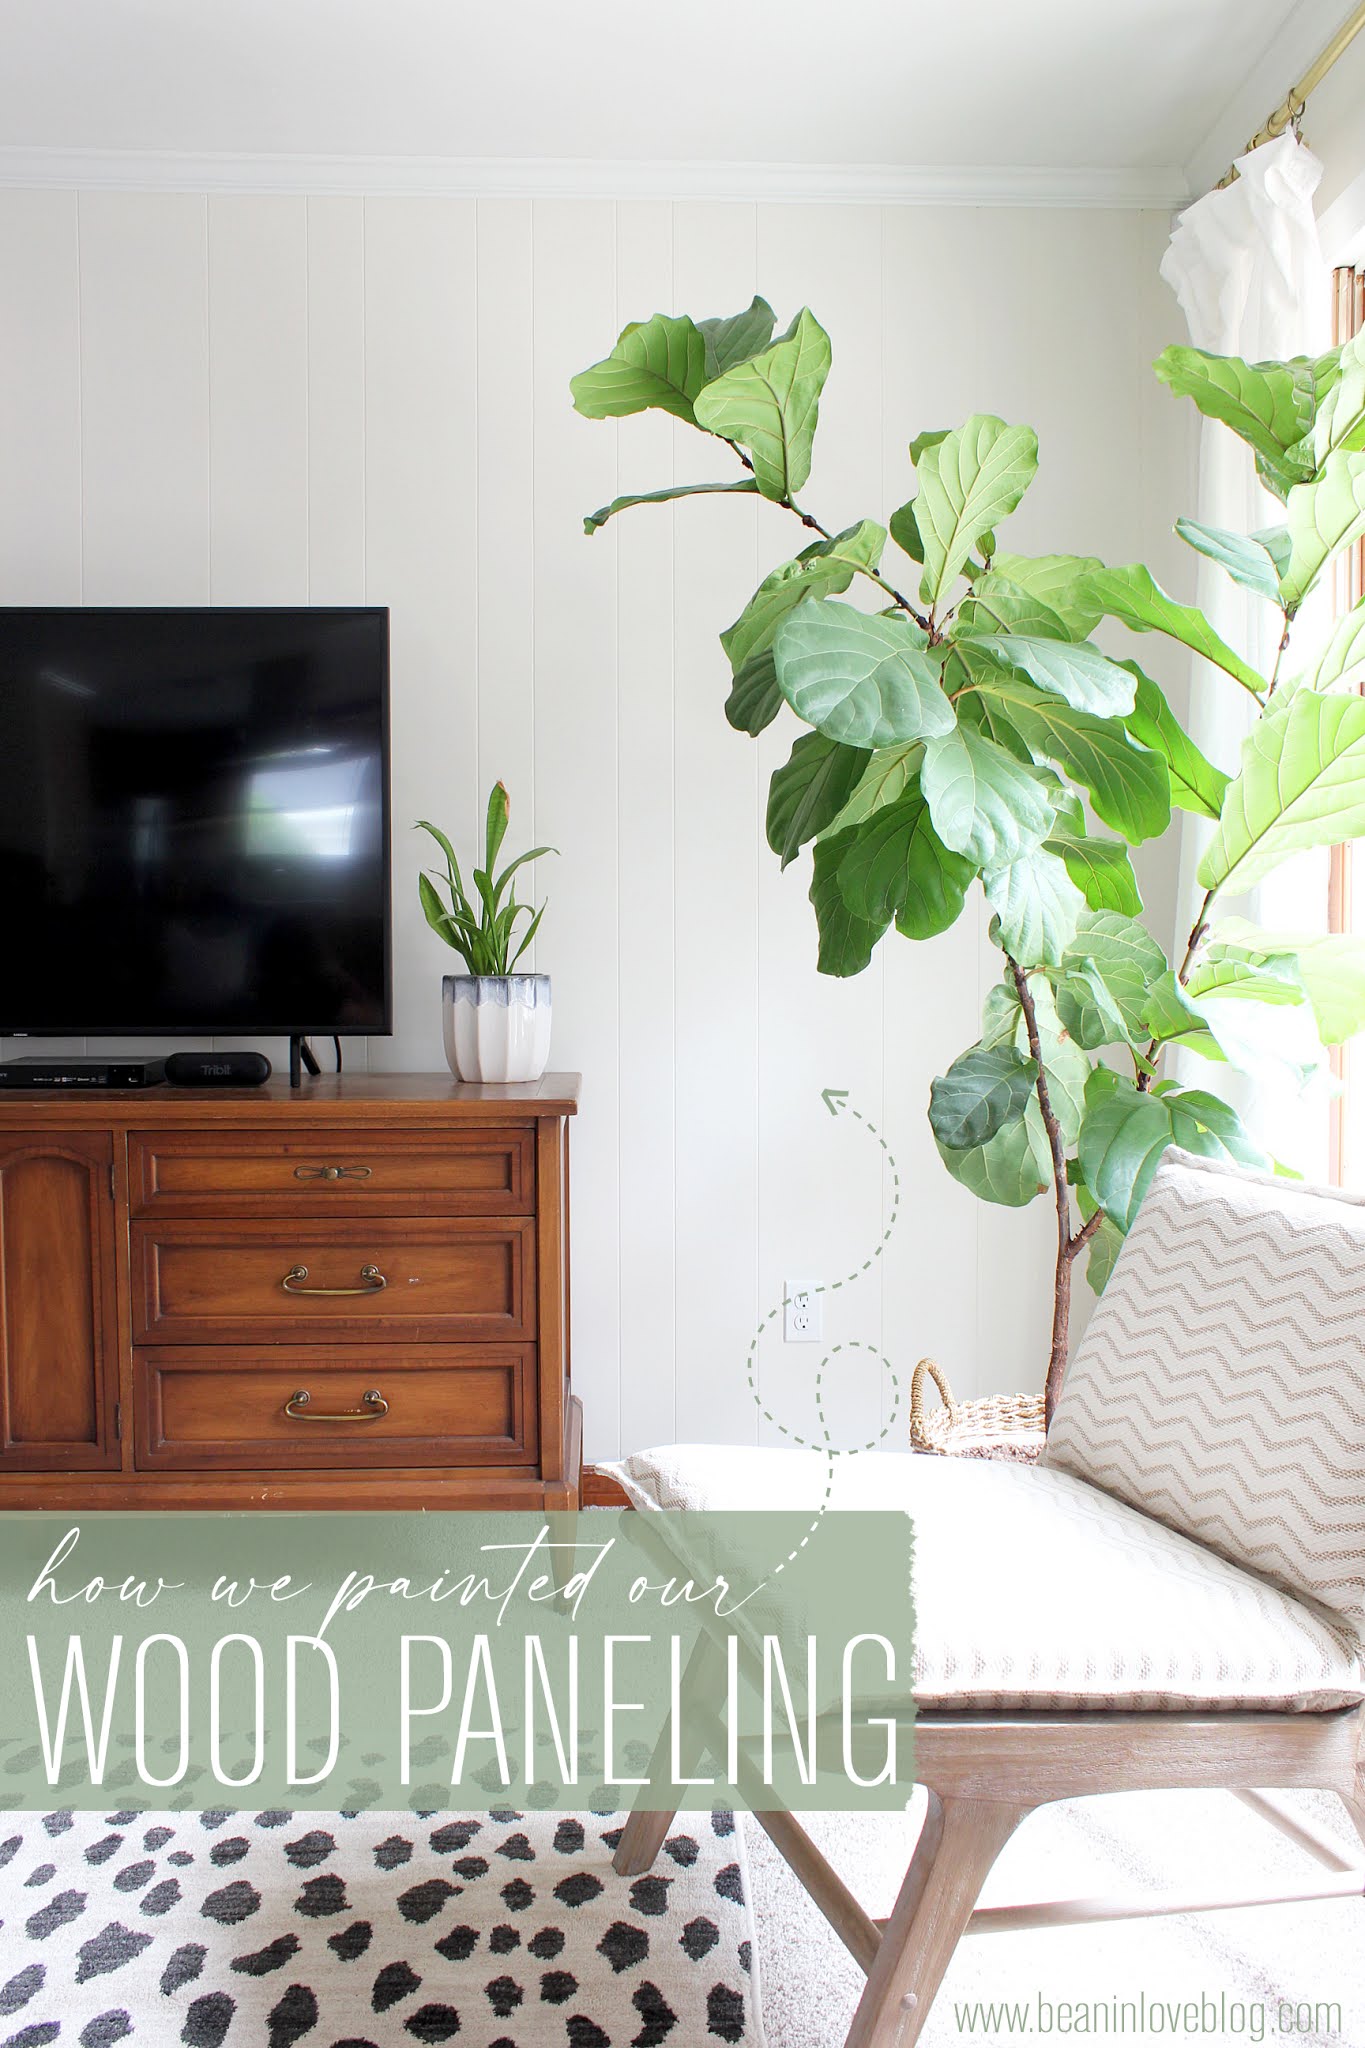
So, now that the painting of the living room is behind us (tutorial on painting paneling coming soon!), I'm moving my energies into this room for a (hopefully) quick makeover.  This is only the start though - Phase Uno.  Also known as mostly using what we've got to squeeze in a makeover that costs less than $100.

Here's the plan:

Kitchen & Living Room Progress


While we've been trying to focus all of our free-time and efforts outside, we have spent a few moments here and there trying to chip away at the kitchen.  It doesn't look like much since I last wrote about it, but we've actually made some good progress in here.

This is where we left off on the last progress report:

If you remember, we took out that wall and had a structural beam put into the ceiling (something we hired out) and then we put up new drywall and started mudding the joints.  After hours spent mudding ourselves, we realized that we just weren't that good at the whole process and it was taking us way longer than it would take a professional, so we decided to pay someone to finish that up.  Plus, we had an area between one of the beams in the den that was hastily repaired (we think there was water damage from the a/c unit in the attic that had to be fixed some time ago) and then covered with popcorn ceiling texture, which hid it's horrendous defects.  We had our guy mud the new joints and also do a skim coat over that repaired area.  It took him about five hours within the span of two days...something that definitely would have taken us hours over the span of weeks.  It was well worth spending the cash.

Anyway, enough talk about drywall mud, here's what the kitchen looks like today:

The Reading Room - Mini-Makeover and Plans


When you walk into our front door, the first room you see, besides the entry you'd be standing in, is the formal living room.

Or at least, that's what we think it was intended for and probably was right after the house was built.  For us though, it was a space we didn't really know what to do with.  We were looking for houses in the 2000 square foot range when we were hunting and well, this one rang in at 2400 and a big chunk of that extra 400 square feet is this room.  So, extra space?  Great!  Except, what do we do with it??

Our Fresh Pantry Makeover

You know, I have blog dreams of posting on the every-other-daily - giving the internet a new DIY project often to quell the monotony that daily life (especially that of stay-at-home moms...am I right?) can bring.  BUT, being one of those monotony-living moms means there isn't much room for projects AND blogging everyday.  So, in saying that, I just want to apologize for being absent here for almost THREE WEEKS!  It's not because I don't care but mostly because I've been painting, and painting, and painting some mo...and mostly keeping us all alive and thriving of course.  ;)

But, finally, I have something to show for all the painting.  Huzzah!

Our new and improved pantry:

I don't know that I ever shared what it looked like before but I definitely took a quick pic before I started and...

Kitchen Plans

While I am hustling in the kids' room (more on Insta), WE have been BUSY in the kitchen.  And when I say busy, I mean we took down a wall a couple of weekends ago and now we're just waiting on contractors.  So really, we were busy.  And now we're waiting to get busy again.  Which is why I can take this "down time" to tackle the kids' room...just wanted to clarify for anyone thinking we can do alllll the things at once.  Nope, not here.

Here's what this side of the kitchen looked like right after we closed:

And if you had walked into the den/living room and stared at that wall from the other side, this is what you'd have seen:

Or maybe it's what you wouldn't have seen.  That's what we're talking about.  From walking through this house on day one to now, we've dreamt about possibly taking this wall (halfway) down to open up the kitchen to the living room.

Entry Way - Before & After

I know I said I’d be back with a master bathroom reveal but I’m hop, skip, and jumping over to the entry way today instead…because I’ve been procrastinating taking those after shots of the master bath I so desperately need to ring up a true reveal.  In my defense, we’re fairly certain one of the twins has the flu so I’ve been hunkered down with her.  We’ll get there, right?  You know it.  :D

Anywho, the entry way.  Entry ways are one of my favorite rooms in any house.  Just like I wrote about a back entrance awhile back, they can make or break first impressions of a house being the spot that's seen first.  They can also make or break your mood when you walk in from wherever it is you’ve been.

Here’s what ours looked like before we moved in:
I didn’t take this picture in the brightest part of the day in this room so it was feeling a little dark already and obviously, a pile of boxes doesn’t do much for aesthetics.  It was a real Debbie Downer for sure.

But, BUT, look at it now:

Kids/Guest Bathroom Reveal

So, I did a thing.  I know I casually mentioned I was doing it a few weeks or so ago but…

I brought this horribly lit, outdated bathroom…

IMG_6832


into 2018 with a little bit of paint and some better lightbulbs.

Our Kitchen in Print

I love writing this blog.  I love coming up with things and showing you how to achieve the same look/end product for less.  All of that requires lots of pictures tossed out into the interwebs of our nest.  While it’s great fun to get to see our house on a screen on the www, it’s EVEN MORE fun to see it on paper…magazine paper that is!!!!!! 

IMG_8992

A few months ago I was contacted by This Old House magazine.  Katelin, the writer of their Budget Redo column, wanted to know if they could feature the kitchen in their October issue and golly gee, I said “of course”!  So, if you’re a subscriber (you can subscribe online too!), check out page 30!

I thought the kitchen’s debut in this month’s This Old House would be a great opportunity to check in on it and let you know how everything is holding up five months later (read the original reveal post here)!  How are things holding up to the test of time?  Well, most things look like they were done yesterday, a few not.


Happy Corner

Let me introduce you to my new favorite corner of this little house.diy yarn art
It doesn’t really look like much but it’s my favorite because it’s chock full of fun diy’s I’ve been knocking out over the past couple of weeks.  Still on the list is a hook system (just like this one) that I want to get up on that empty wall to the right of the door.  Hopefully that will happen before school rolls in this fall so we have a place to park backpacks.  :)

To jog your memory, here’s what that corner looked like just after we moved in:

IMG_7274
We desperately needed a place to store shoes since this is the door we use most often and so we bought Ikea’s Mackapar, hacked it, and still love it.  I finally got around to painting the living room last month too.  Goodbye tan!  With all of the orangey-wood trim and lack of light during the majority of the day, white was the clear winner.  We went with Pure White by Sherwin-Williams.  The door was in a sad state; dinged and stained.  It was begging for a new coat of paint.IMG_8223