

If you just painted over the ceiling at this point, you'd see lots of ridges, lines, and shallow craters - the lines of the mud and the craters left behind from halfway filling in the screw holes holding the drywall up.
Not pretty and definitely not the result you want after spending all of that time scraping.

Note: The following method of finishing the ceilings came after some trial and error, very unfortunately. We spent a few extra hours doing things the wrong way...or maybe just a less efficient way that I won't get into because it's worthless. Just so you know... ;)
Here's how we finished our ceilings - the most efficient (and least messy) way.
First, we filled in all of the screw craters with spackling.

There was still popcorn texture left up inside these craters after scraping but there's no need to wipe that out before you fill.

We used a two-inch putty knife and one quick swipe with this putty* to fill in each crater; that was all it took.

You'll just want to make sure you get enough putty in there to fill the entire crater. You can even overfill it. It'll dry and get sanded flush later. Also, make sure you use brand new spackling to do this. Older spackling is more dry (though sometimes you can add water to it to liven it up) and it's much harder to swipe on. Since you'll be filling tons of craters, you'll want to make life as easy as you can and use super smooth, new spackling. Trust us because, sadly, we'd know.

Once the spackling dried, we then sanded the mud lines until there were no ridges (just run your finger over the edges of the mud lines after a few passes with the sander to see when you've got it smooth). Along with the mud lines, we sanded the crater holes that we had just filled. Using a medium-grit (120) sanding screen*, we only had to go over each ridge/crater a couple of times before it was smooth. It wasn't an exorbitant amount of sanding...thank goodness. And bonus: if you accidentally left a little popcorn texture behind during scraping, no worries, this step will obliterate it.

Two VERY important FYIs for this part of the process. 1) If you don't want drywall dust EVERYWHERE, this vacuum sander* is a must-have. It attaches to a utility vacuum (like a Shop-Vac) and sucks up all of the dust you sand off. We bought it off Amazon after it was recommended to us and I would have paid twice what we did for it because it was that worth it. Really and truly. We started covering the floors when we first started sanding but realized it was completely unnecessary after there wasn't any dust on the plastic or even on our clothes. So then we went rogue and didn't cover anything. Ha! 2) If you're going the sander + vacuum route (why wouldn't you?!), you will absolutely need to buy HEPA bags* for your vacuum to catch all of the dust. Abso-freaking-lutely. If you don't, you will start sanding and minutes later, your vacuum will start choking on the super fine particles of drywall dust AND start spewing them out into the room. Ask us how we know. That was the death of our old Shop Vac (that we had had for ten years) and why we had to buy this new one*...which is awesome, we love it, but still...HEPA bags.*
Don't forget.

After sanding, we gave the ceiling a once over with a damp sponge mop just to remove any dust. If you don't use the sander + vacuum route (again, why wouldn't you?!) you'll probably have more dust to wipe off so you might want to go for a twice over.
Then it was prime time. We used this Kilz 2 Primer. If you're painting ceilings over floors that are getting torn out and you don't care too much about tiny flecks of primer and paint getting all over yoself, a regular paint roller with extension rod will work for you just fine. And honestly, that's the easiest way to go. But, if you want a little more protection, we started out using this roller plus shield and really liked it. The cover part pivots so you can move it around depending on the angle you're painting. (We used to have a stationary cover like this and it was hard to make sure you didn't scratch the ceiling with the cover. You had to really pay attention to the angle.) Sadly, I propped that roller up along a wall in a bathroom a few days after we bought it and it fell...and broke. So, for the remainder of our painting, we covered the floors, our arms, and hair and painted sans cover.
Mid-priming:

Once primed, we painted with Sherwin-Williams Master Hide flat paint tinted to their Pure White. It was recommended to us after we searched for an ultra flat paint. We really love how flat it truly is (a lot of flat paints these days aren't as flat as they used to be because everyone wants their paint to be scrubbable which means it's got to have some sort of sheen to it...so I heard) but we did need two coats of paint for full-coverage. This is after the one coat of primer and one coat of paint:
Still slightly splotchy.
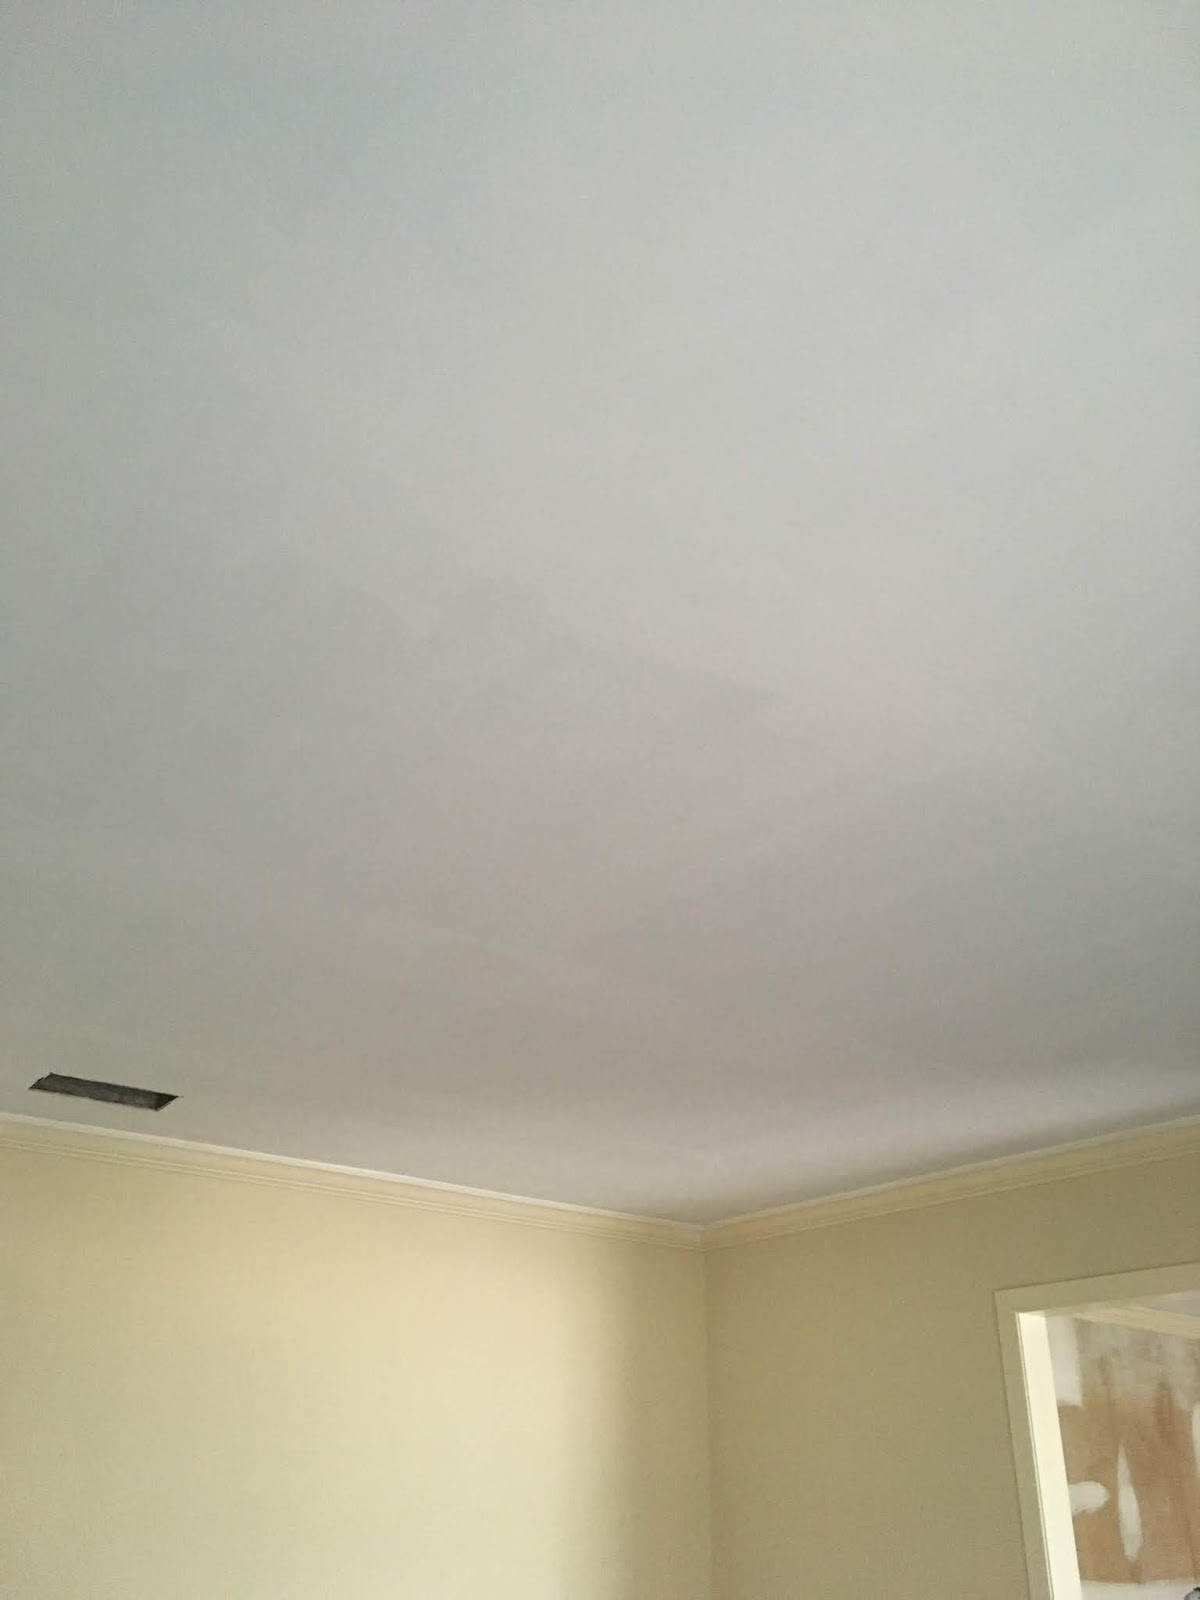
And this is what this ceiling looks like today, all finished:

It's hard to photograph how good they look. As you can see, we didn't really pay attention to keeping paint off of the crown molding since it's also going to get painted. But, we did remove all of the vents, scrape the popcorn underneath, paint underneath, and then spray paint the vents white to match the ceilings. I did this on all of the vents in our old house and, for the seven years we lived there, they all held up fantastic, never needing to be touched-up. All hail spray paint.
We are SO happy with how our ceilings turned out and, once again, there's no regret here in taking on the project. We've got the kitchen and den ceilings left to do but we're waiting on a wall to come down first before we finish them up. More on that later!
As always, send me any questions and let me know if I need to clarify anything! If you have popcorn ceilings that you've been dreaming of making smooth, DO IT! I promise you, you'll love it! We will cheer you on! :D
. . .
*These links are affiliate links which means that, if you click over and/or make a purchase through the link, we may receive a small commission at no extra cost to you. All of these links will lead you to things we actually paid for or that are similar to the item we paid for in case ours is thrifted/sold out/secondhand. This extra money helps us with the costs of running the blog. Thank you for your support and for fueling our love to share all things DIY!


I really wish our textured ceilings were popcorn. They're this weird sponge spackle combo that is IMPOSSIBLE to match (just ask my husband who spent like 10 hours trying to get his 4 patches to match after installing some can lights in our basement ceiling). I would have loved to just smooth them out but we'd have had to redrywall the whole ceiling and that wasn't going to happen!
ReplyDeleteOh no! I don't blame you for not wanting to drywall the entire thing over. Nope. Thankfully for you, ceilings are the least and last looked at wall in any house. ;)
DeleteOur popocorn came off fairly easy, thank goodness. However we have some divots and uneven areas. Do we need to compound the whole ceiling or just fill the imperfections? This is the order we were recommended:
ReplyDelete1. Removal of popcorn (we used water & scraper)
2. Sand uneven areas
3. Wipe down with sponge
4. Prime
5. Fill imperfections with compound
6. Sand
7. Reprime where we compounded.
8. Paint
Is this what you did?
Thanks!!
Hey Britt! You definitely don't need to compound the whole ceiling! I'd just fill in the divots. We filled any in after we sanded the bare drywall and then primed but either way would work! I think that the important part is making sure you sand the ceilings before you prime. If not, you'll add a ton of work to your plate in filling...ask me how I know. :( Thankfully, we learned our lesson after a couple of rooms and did it the more efficient way from that point on. :) Oh and also, if you prime before you fill, you should only need to sand down the areas you filled, not the whole ceiling again. Good luck! It's all so worth it!
DeleteHi! Thank you for sharing this great article! I am currently renovating my first ever house and just finished scraping the popcorn ceiling and I had a couple questions.
ReplyDelete1. After taking a look it looks like there is still some slight popcorn left. It is the very light brown layer that seems really easy to miss. Do we need to remove all of that before we move on to the next step?
2. Would the next steps be the following: sand any uneven areas, fill with puddy, sand puddy, prime, paint?
3. We don't have any holes or craters in the ceiling. what we do have is slight scrapes and tears we created on the paper portion by scraping at a bad angle. Can we just fix this with sand, puddy, sand, primer, and paint?
Any help at all would be much appreciated! Thank you!
Hi! First of all, high five for all of that scraping! As far as your questions...the light brown layer of popcorn that's left should just sand off when you start sanding. We had some leftover in spots too that came right off. So, no, you probably don't need to remove it before you sand but I'd just try to sand some off quick to see if it comes off. If it does come off with sanding, go ahead and start sanding the whole ceiling. I'd highly, highly recommend grabbing that dustless sander that attaches to a shop vac. It's worth its weight in gold! You can definitely fix the scrapes and tears with putty. If for some reason it doesn't stick, sand the spot and prime it first so that the putty has something to hold onto. Good luck!
DeleteWe recently had the popcorn ceiling removed and opted for smooth finish ceiling. Unfortunately there are lots of ridges and joist lines showing. We are very unhappy with the results. What may have gone wrong and what can be done to fix it?
ReplyDeleteHi! Did you sand the ceilings after the popcorn texture was removed?
DeleteIsmail- did it ever get smooth? We had lines and ridges and just weren’t sure how good we could expect the ceilings to look after paying professionals to complete this job
DeleteWe just started scraping our painted popcorn ceilings. . .have completed two rooms. Is the sanding screen put on the vacuum sander to sand the ceiling? I have no clue what to do now that we have removed the popcorn. However, your blog was very helpful. I think I need to buy a vacuum sander (& HEPA filters). Do I need any other type of filter for the shop vac or just the HEPA fileter?
ReplyDeleteHey! Yes, the sanding screen attaches to the vacuum sander. If I'm remembering correctly, I think it came with one so you can see how it goes on in the first place. The only extra filter you need is the HEPA filter bag. Your shop vac (if you have one) came with a filter also but you'll really just need to attach the filter bag and you'll be good to go!
DeleteHow many hours did it take you to just scrape the ceiling of the one room?
ReplyDeleteDepends on the size but probably about a half hour for our biggest rooms. Not long once you get started.
DeleteWhat would you suggest for popcorn stick in the corner between the wall and ceiling? When I spray the wall the paint peels off and that’s a whole other question. Also will primer stick to dust, trying to figure out how thorough I need to be with the damp sponge?
ReplyDeleteHey! Maybe try sanding it off instead if your paint is peeling. I'm not sure how to go around that. Sorry you're having that problem! Sounds like someone before you didn't prep well and now you have to deal with their shortcuts. As far as the dust, I'd try to remove most of it. If there's a little, I don't think it will matter but if you run your finger over the area, you shouldn't get much dust on your finger.
DeleteJust had popcorn removed from our huge vaulted ceiling. They sanded the exposed drywall with a vacuum sander, replaced peeling joint tape in angles of the ceiling and where the ceiling meets the walls and smoothed tape and dented areas with mud before sanding. They did not prime first and just used flat paint with primer added and did 2 coats. Days later the ceiling doesn't look uniform in color and lacks that nice solid white look and there are missed 2nd coat areas around light fixtures and tape joints. Should I request a third coat of paint? I think they should have used a primer or sealer made for dry wall first before painting. This was very expensive and I am just not happy with it. Am I being too picky? I was a decorative painter for 20+ years and I would never think this paint job was up to my standards for my own clients.
ReplyDeleteOh no! You're definitely not being too picky! Especially since you paid for this! My guess is that you need a third (or maybe even a fourth coat). That should do the trick. We used one coat of primer and two coats of paint since that first coat just soaks right into the drywall. Hope that helps!
DeleteI’m getting ready to do this exact process. Did you use a textured roller to paint the ceiling or just leave it flat?
ReplyDeleteWe did not use a textured roller.
Delete