Showing posts with label Re-Fashion. Show all posts

Goldie Toes Jr.

Bethany made me do it.  Okay.  Maybe it was my own fault, especially since I’m now a repeat offender.  Paint, you guys.  It makes the old new and the new old and the boring fun.  Take for instance, these shoes:10686777_795591188170_4696237025952177932_nI bought both of them secondhand for $3.50 each awhile back.  So cute for cheap, right?  The pandas had the girls at hello but the pink?  The pom on the toe, while it was cute, needed to hop on the next plane back to Whoville….making these little shoes the perfect specimens for some cap toeing.
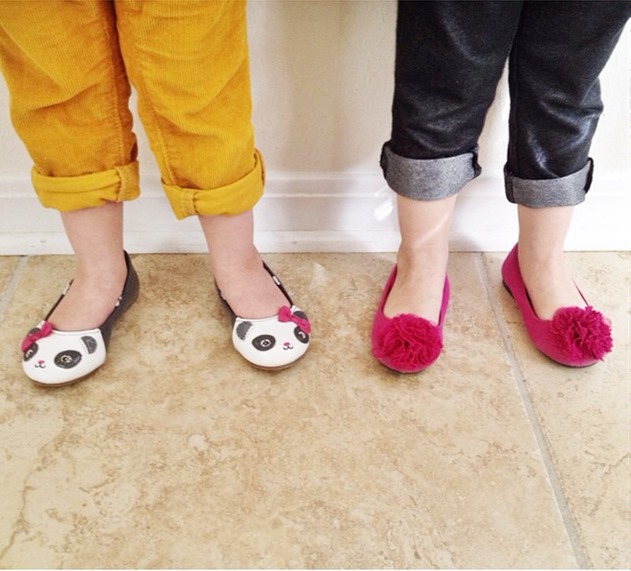
So, for starters, after I got the pom off the front of each (I just used a seam ripper), I gathered my supplies – a paint brush, some painters’ tape, and gold paint (I love my Martha metallic gold!). 
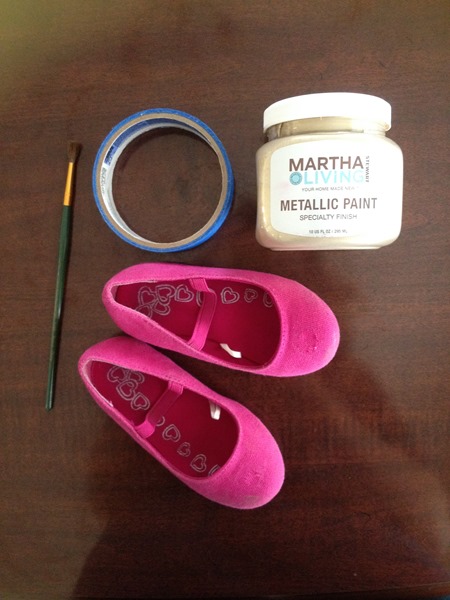
    photo 1 (12)

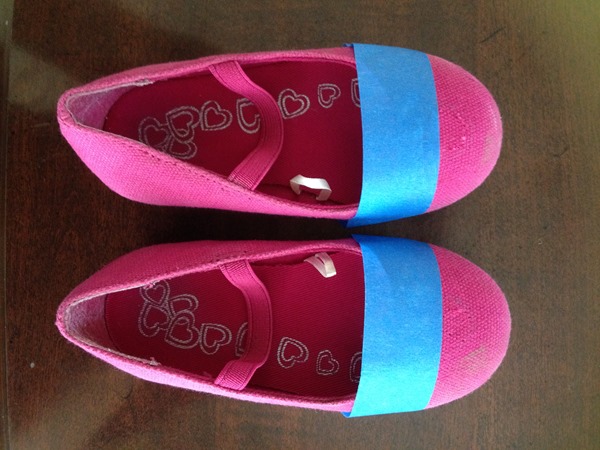
Then I taped off the fronts where I’d be painting the toe.photo 2 (19)
Last, I painted the toe and ripped the tape off right after I was done, while the paint was still wet.photo 3 (8)
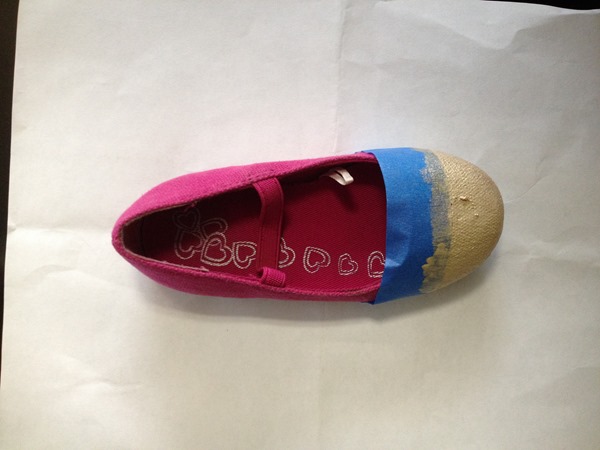
(I went back in later and pulled out those leftover threads you can see in the above pic when I was done and touched up the paint.  Also, the paint I used dries a lot more metallic than it looks when it’s wet.)

The shoes have a strap, as you probably noticed, but the girls can get them on easier by themselves without using the strap and the shoes stay on great without it, so I ended up just cutting it out a few weeks ago. 

I did this one day in the five minute time span I have between giving the girls their lunch and them yelling “all done” (little bro was napping).  It was so simple!
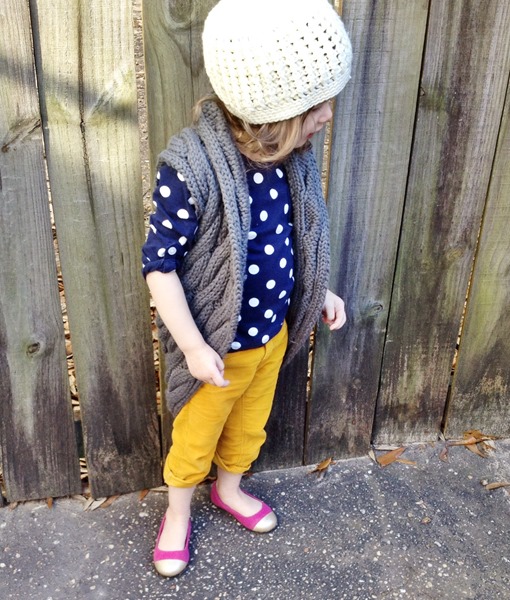
photo 5 (6)
Top >> Kohl’s,  Cords >> Thrifted (Old Navy), Sweater >> mine from Rue 21 (XS on me, XL on her :p  ), Beanie >> mine  

I love them because they go with pretty much everything the girls own.  And did I mention that I painted these a few months ago?  I’m so behind on posts y’all.  Point is, they still look awesome and they’ve probably been worn over 30 times outside of the house on one twinkle toe or another.
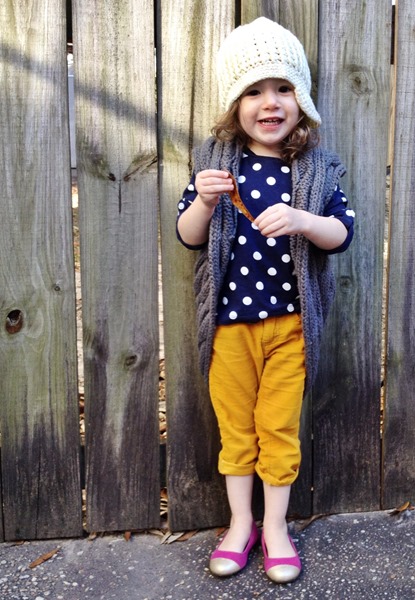
photo 4 (10)

Soooo, any card-carrying shoe painters out there?  What about other random items?  Profess the power of paint!

Wee Scarves

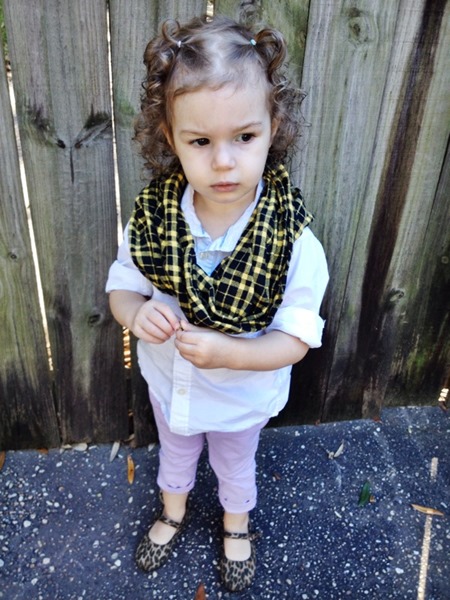
So I might have an infinity scarf addiction – proof, proof, and more proof.  But I can’t help myself, especially when it comes to dressing the girls, so when an opportunity presented itself, I bit down…and made a graphic:

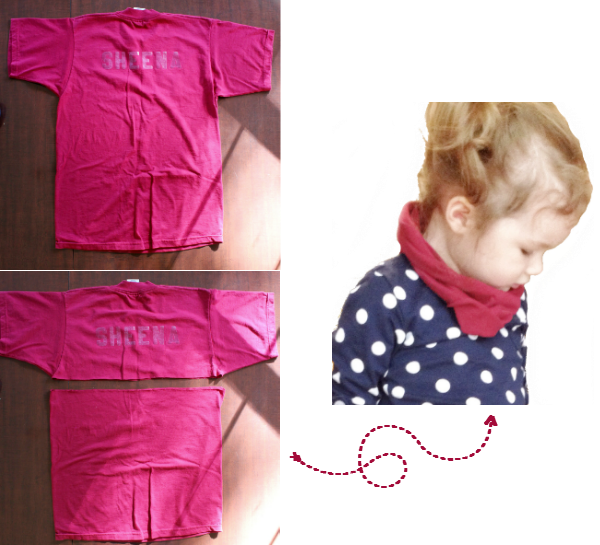
infinity scarf from a tee

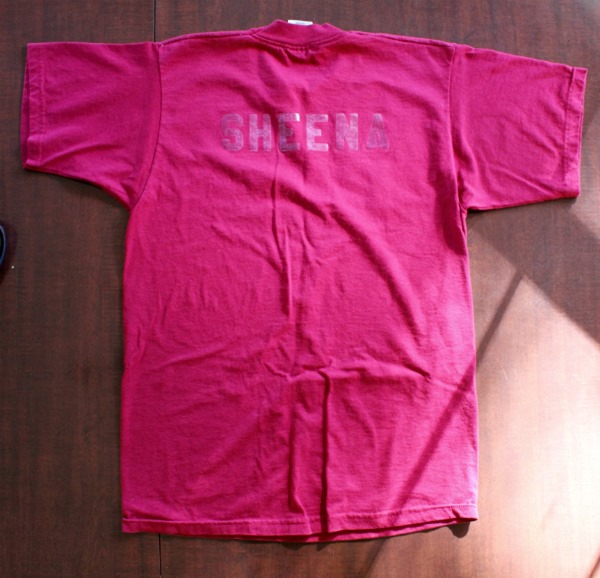
Here’s the story.  I have this tee from back in my dancing days.  It has my name heat-pressed onto the back except that recently I washed it (for the 395757th time) and all of the white of the letters came off in the wash.  So weird.  IMG_5330
Not a huge deal but since I was/am going through a closet purge and have 49579 other t-shirts, I thought maybe it was time to bid farewell to this one.  So I went through the whole “what could I do with it?” before I actually tossed it to the donate pile and it hit me – the fall-ish cranberry color, the size, the soft cotton – they were all perfect ingredients for a couple of little infinity scarves of the no-sew, five-minutes-to done-variety for a couple of twins I know.

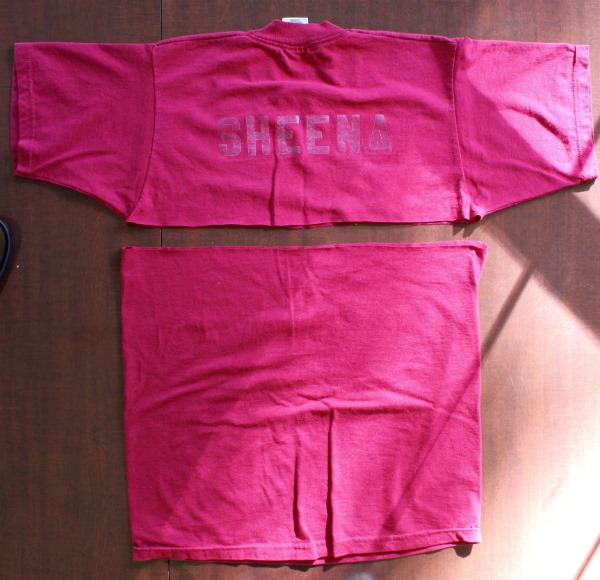
Here’s how I made them.  First, I cut off the bottom of the tee under the armpits.
 IMG_5333

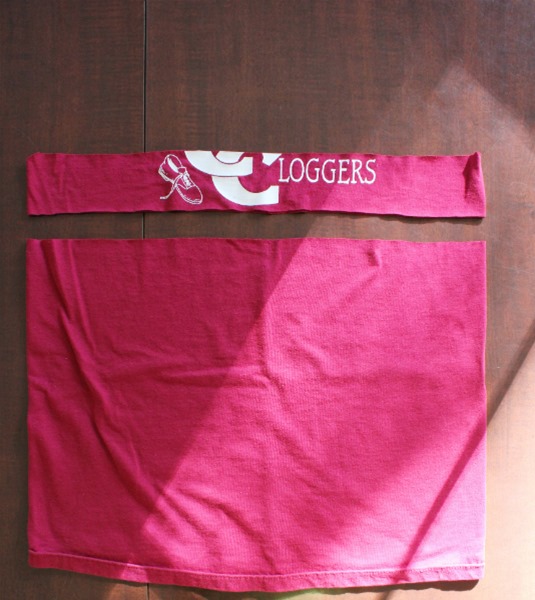
And then I flipped it over to see that some of the logo on the front was still visible, so I cut off a tad more.
 IMG_5334
(Ten points if you know what a “clogger” is!)

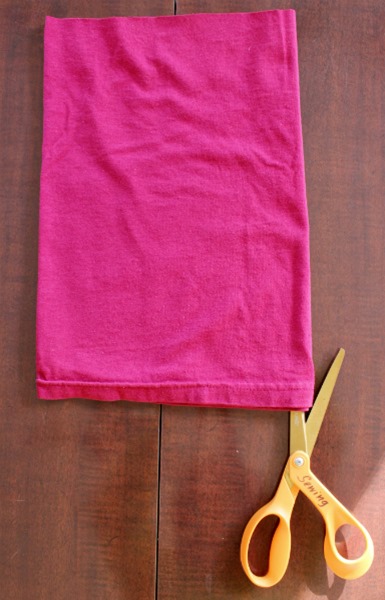
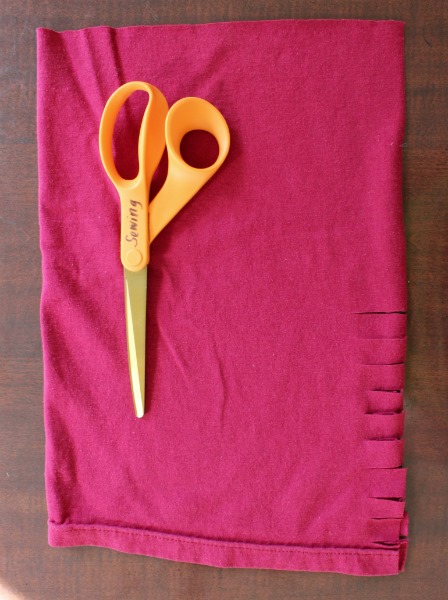
Then, since I needed two scarves for two tiny ladies, I folded that bottom piece in half length-wise and cut along the fold. 
 IMG_5336

Next, I cut a bunch of shallow strips all the way up the unfolded/cut side of each half of fabric.  My cuts measured about an inch.
IMG_5337

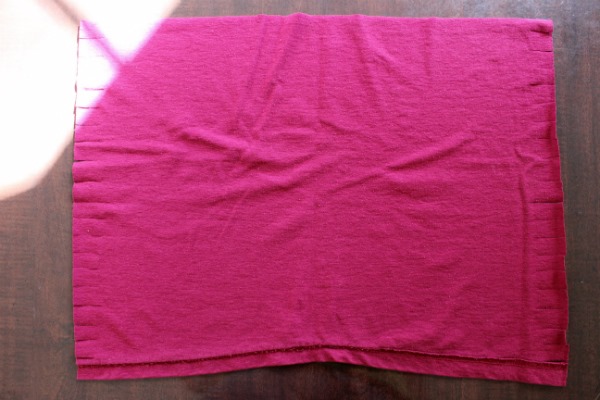
When I unfolded each piece, it looked like this:
 IMG_5339
(Sorry about the infiltrating sunlight!)

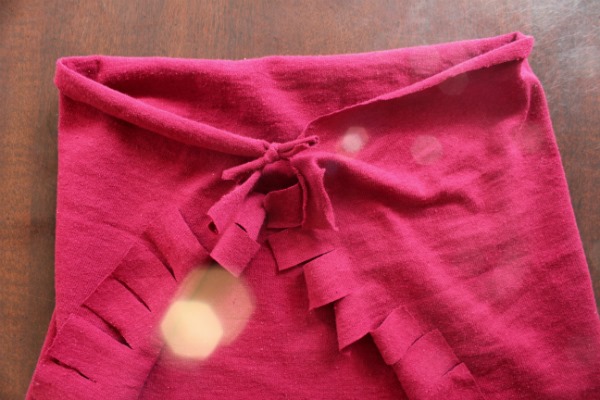
Last, I tied each strip to the one opposite it…
 IMG_5340
(Side note:  I ended up cutting off the bottom hem of the t-shirt because the strips cut there were too hard to tie since they were thicker.)

Since I didn’t have that much fabric to work with, I cut the strips pretty short to get as much scarf circumference as I could.  So, to aid in tying, I pulled on each one a bit to stretch it out before tying it to it’s counterpart.
 IMG_5341
[Unintentional light leak!  Cool!]

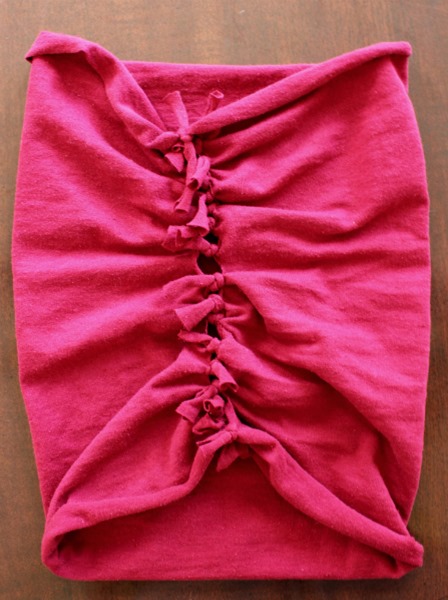
Until, after I had tied all of the strips together, I had myself, or the girls, two little infinity scarves.
IMG_5342

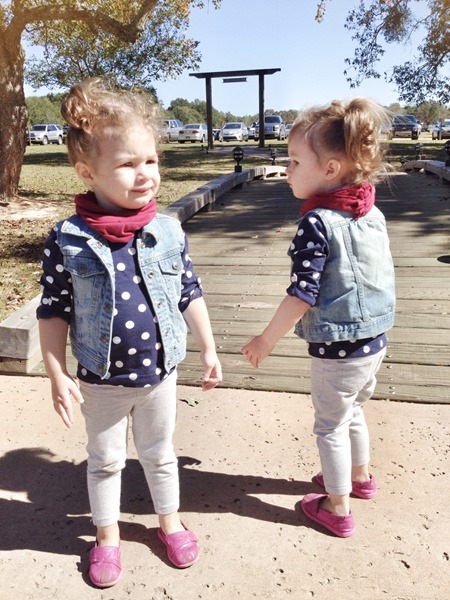
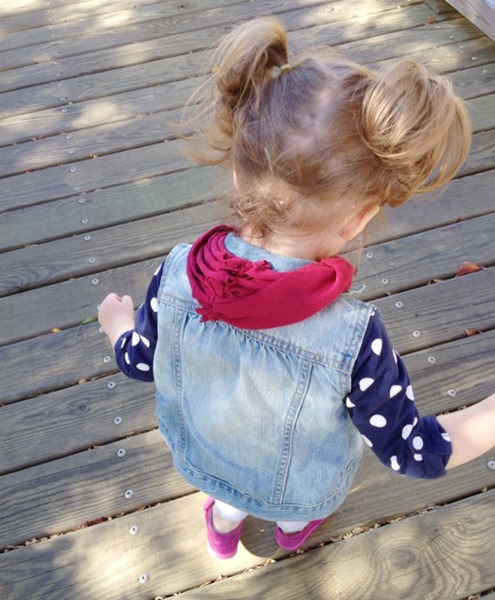
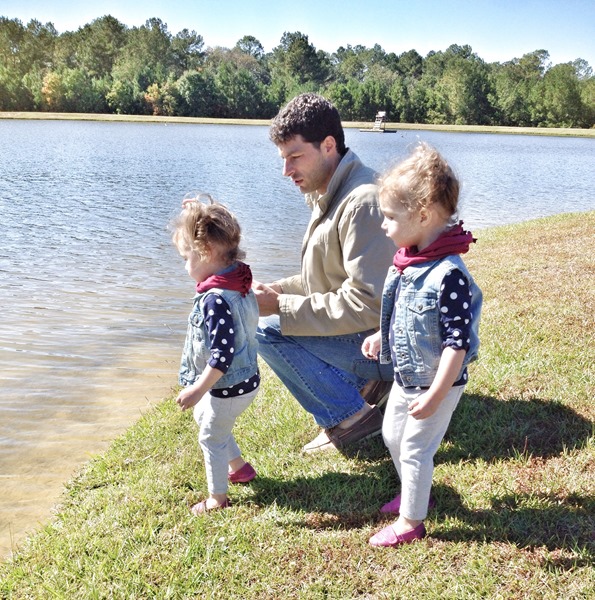
We test drove them last weekend on a trip out to see Daddy who was working at a retreat out in the Southern countryside.photo 5 (1)
[DIY jean vest tutorial here.]

I like the extra detail the ties provide.  :)
  photo 1 (7)

For an adult scarf, all you’d really have to do is cut the tee off under the arms and stick your head in, like so:no-sew infinity scarf
…unless you’re working with a huge tee or you want to combine a couple of tees!  For the tots though, I prefer a more fitted, smaller scarf so depending on the size of the tee, a little snipping and tying might be necessary.

More photo spam from our little country excursion:
photo 1 (8)
Heart eyes and more heart eyes.

  photo 2 (9)
They had a blast picking up acorns and tossing them into the water.  Like they-didn’t-want-to-do-anything-else blast.  And then C found a huge, gross ‘shroom to toss in and we had to ruin her fun’gi…ha!

She’s so cute though, no?
 photo 3 (5) 

Anyway, go out and find yourself some cute patterned tees and cut your way to an infinity scarf or seven to keep your neck warm this winter.  I found this tee at Target on clearance for $2.10 a couple of months ago…
photo (1) 
[via this gram]
…and am punching myself that I didn’t grab more to make scarves…something out of!  Whatever…no regrets.

photo 2 (8)

You know what they say on Fridays – TGI…oh wait, I’m a mom.  ;)

.           .           .

P.S.  Be sure and stop by Monday because there will be details on a fun giveaway over on our Instagram home!

Easy DIY Jean Vest

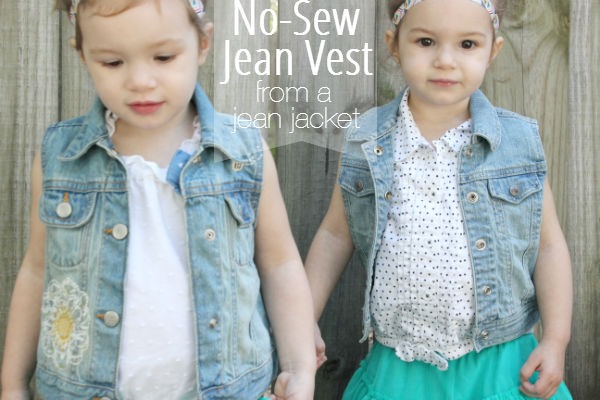
Among their plethora of hand-me-downs, the girls had a sweet little jean jacket from their cousin.  From Gap, embellished with embroidery, and soft; cute on the hanger but on?  Well, meet the Hulkette:
IMG_4799
With their tiny frames and stick arms, the girls didn’t stand a chance.

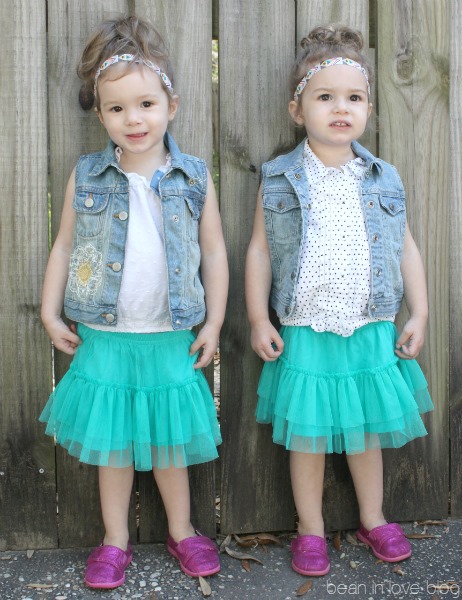
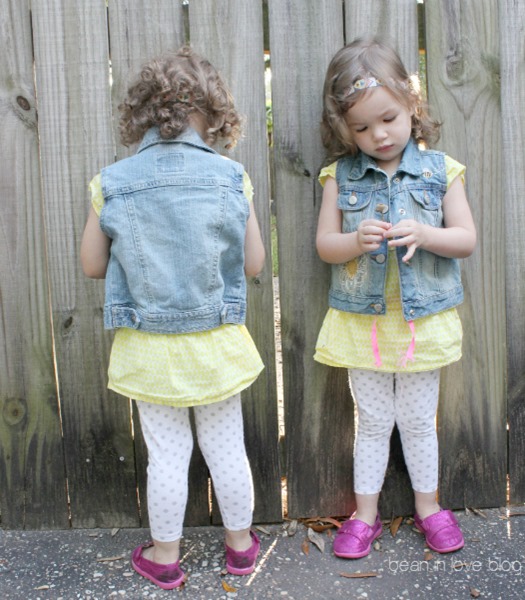
So, after procuring a second jean jacket (for $5 off Varage Sale!) that was similar because #twins, I made a few snips, inspired by Kilee, and we’ve ditched the steroids in the name of fashion:
 jeanvest3
[While saying “cheeese” and dressed in skirts their size yet way too big that I spied undies a few times and the only shoes they have right now that fit…better get on that!]

All I did was cut off the sleeves which probably doesn’t need one word of an explanation but since I am who I say I am…
jean vest tutorial

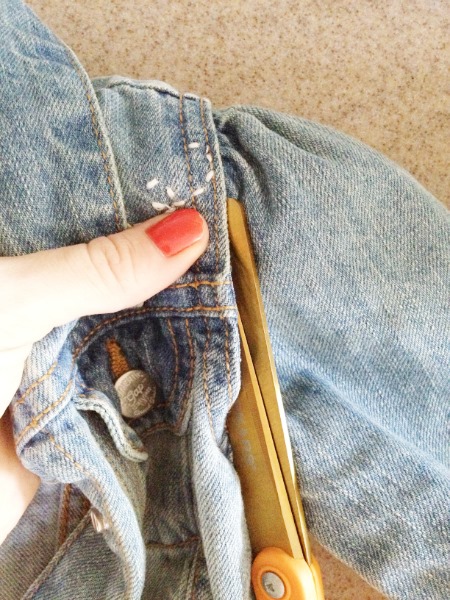
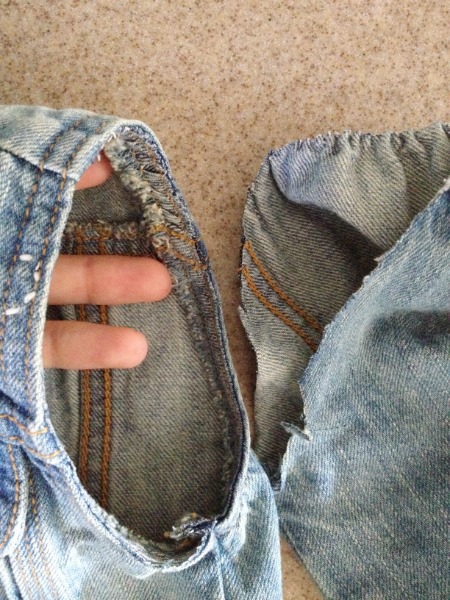
The only thing worth mentioning besides “Step 1:  cut off the sleeves” is that when you do, make sure you cut as close to the inside hem as possible so that you wont see any remaining sleeve material peeking out from under your new armhole.  I found that cutting at a slant gave me the closest cut.
photo 1 (1)
You don’t have to worry about fraying because you’re not cutting out the hem, just the sleeve material where it meets the hem.  No cutting the hem = no fraying.
 photo 2 (5)

And that’s it!
It’s just now dipping under sweltering here so hopefully they’ll become our toddler wardrobe staple soon!  Until then, we do quick photo shoots in the cool of morn:
  jeanvest2
 
I had been on the thrift store hunt to grab a jean jacket to turn into a vest for my very own but then I found one on the clearance rack at Target a few weeks ago so we might possibly turn into those mom and kids that are matchy-matchy once in a while.  I’ll make sure to gram the occasion if we do and give you full permission to do an eye roll.  ;)

jeanvest

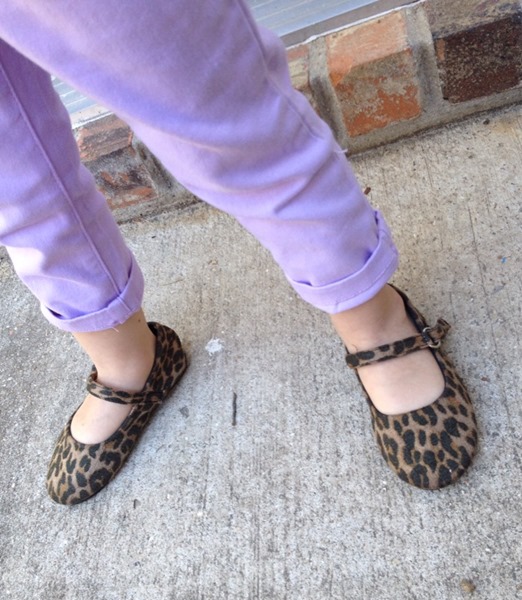
Meow

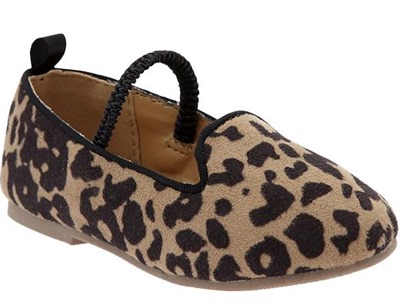
The girls have been crushing on these Old Navy loafers ever since they spied them in-store a month ago:
leopard loafers old navy
Okay, so I fibbed a little…I have been crushing on these for the girls.  But, as much as I love my girls, I don’t even spend $20 for a pair of shoes on myself so to spend that on five-inch long toddler shoes (times two) that’ll be too small in three months just doesn’t jive with my wallet. 

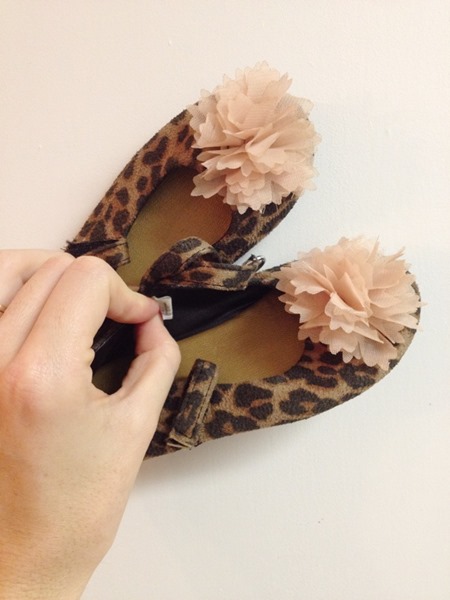
So, you can imagine our delight when I found a pair of these little thangs at Goodwill last week:
photo 3 (8)
A size too big but I know two little girls who can prance around in their mom’s 7.5’s so one size up is nbd. 

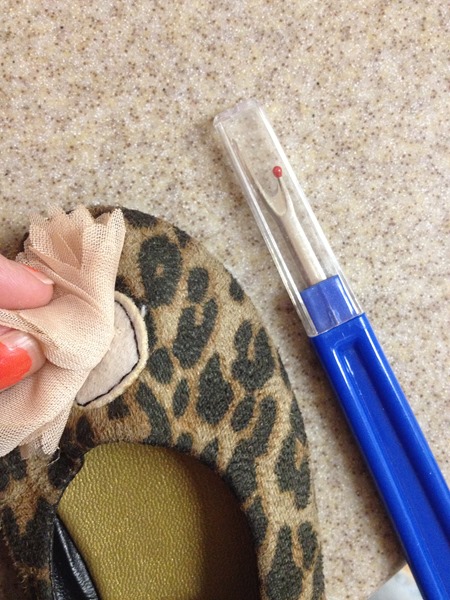
The pom flowers though, they had to go.  As cute as they are on the shoes, they made them less versatile with than without.  I don’t want to have to make sure blush pink fits in with an outfit if those shoes are the ones getting worn, ya know?  They were sewn right on the toe of the shoe though so I just grabbed my seam ripper and ripped them right off.  It took all of two minutes.photo 1 (10)

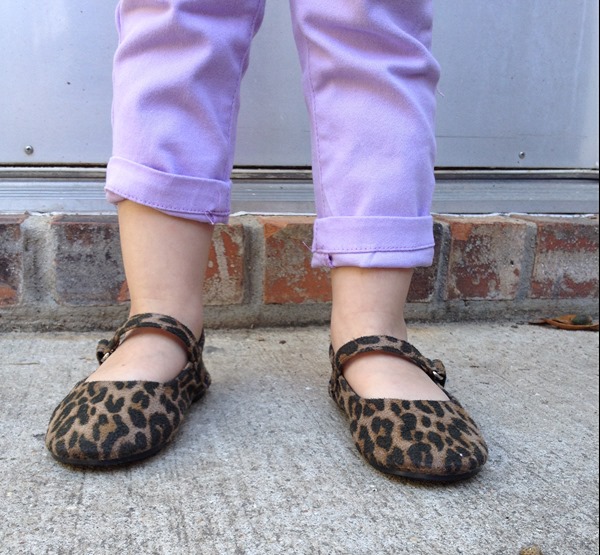
Bingo.  Now we just have to find another pair.  ;)
photo 2 (9)


  photo 4
^ hashtag ootd ^

And never fear, I didn’t toss the pretty little flowers.  They’ll be married to a couple of nice hair clips as soon as I get around to it.  Tutorial to follow along with dancing and some wine-ing.  Be there.
photo 5

Feathered

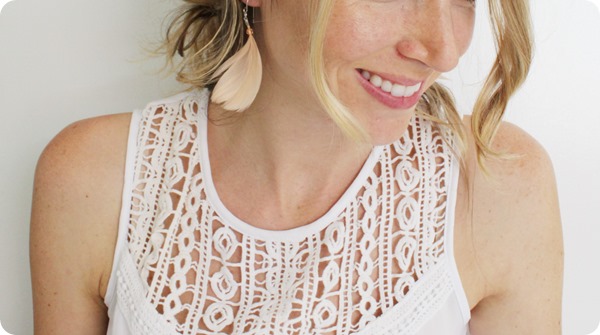
I’m not one to wear dangling earrings.  Not because I don’t like them but because 1) my kids are grabbers, 2) I feel like they make me look overdone and 3) sometimes I think they make my small head look even smaller.  I’m weird.  I know.  :) 

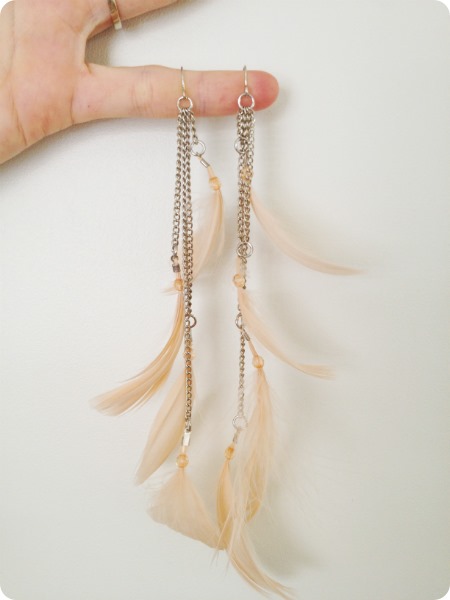
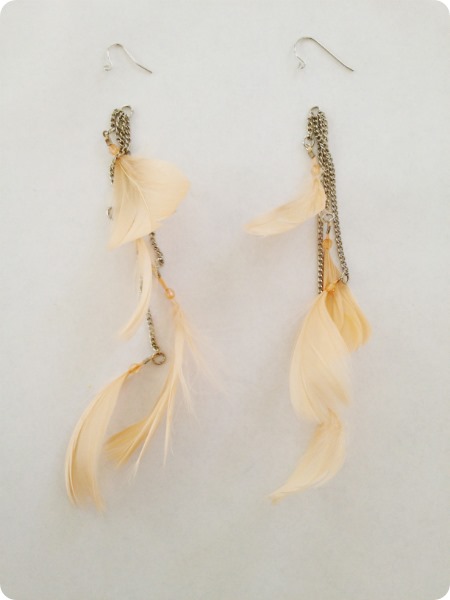
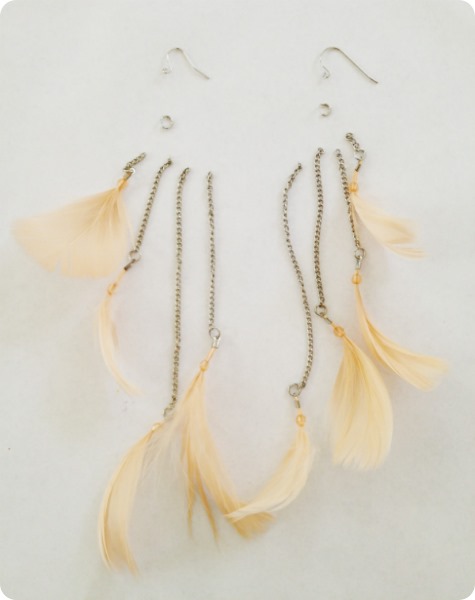
With that being said, there are a few exceptions to the rule and these are one of them.  Way back when Anthony and I scored big time at Dirt Cheap, amongst the treasure in the cart was a pack of four inch long, dangling, feather earrings.  Three pairs – blush pink, white, and black.  Not me.  At all.  So, I stowed them away for a raining day project and that day was Sunday, sans the rain. 

Here’s what I started with:
photo 1 (4) 
They’re tickle-my-collar-bone long which also translates to long-enough-for-Sebastian-to-get-a-good-grip long.  That’s a painful thought, eh?  So, my plan was to simplify and shorten.

(Note:  I did all of this using my fingernails but you could grab a couple of needle-nose pliers to make it a little easier or better yet, some jewelry tools.)

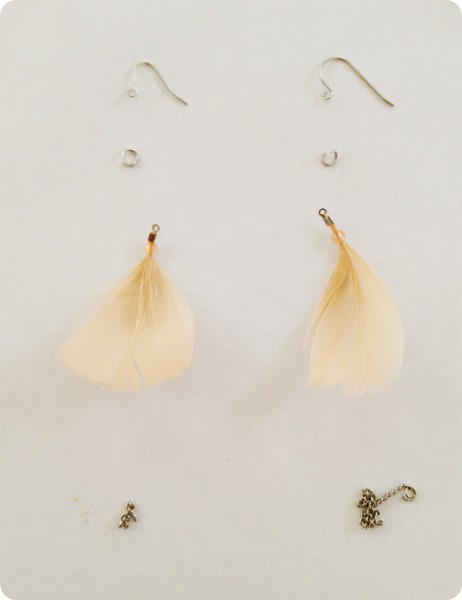
First, I separated the ring that held the chains to the fishhook by opening the tiny loop on the bottom of the fishhook just enough to slide the ring off.
  photo 2 (5)

Then I opened the ring and slid off all of the chains:
photo 3

Next I picked out two feathers that were the closest thing to twins and separated them from their chains.
photo 4

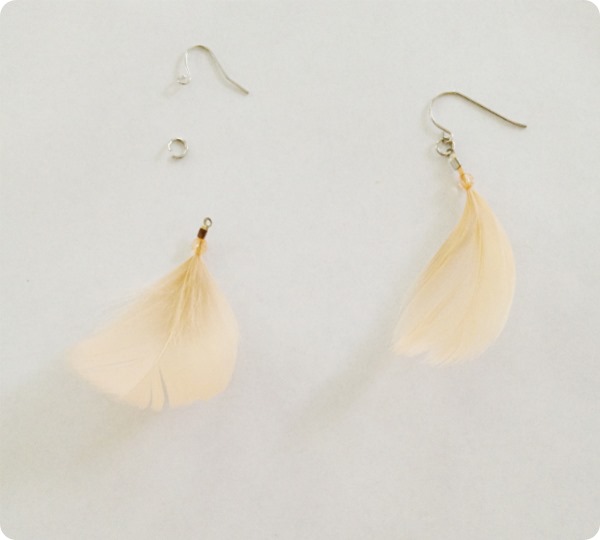
And last I attached the tiny ring at the top of the feather to the larger ring and then to the fishhook.
photo 5

Simple and short.  Short and simple. 

IMG_5091

I did the same to the black and white feathered ‘rings so now I’ve got one for every outfit.  You can never have enough feathers in your nest, right?

Want to make some of your very own?  Check out these feather danglies for $1.79 on eBay, or these, or these.  Or there’s also the craft store route where all the supplies to make these from scratch live.  Or your unused/broken earring stash plus a down pillow.  Endless options.  ;)     

Fringe Benefits

That title should really read “The Easiest Infinity Fringe Scarf to Make Ever Ever Ever With Only a Tee and Scissors” but I was afraid I’d come off a little too vague.  So, let’s leave it and let me explain.  A long time ago I pinned Lakeland Local’s tutorial on how to make a nifty fringe scarf out of a tee shirt.  Then, a long time ago, I made one for myself using an old tee I had laying around.  Ta-da:
IMG_5021blog

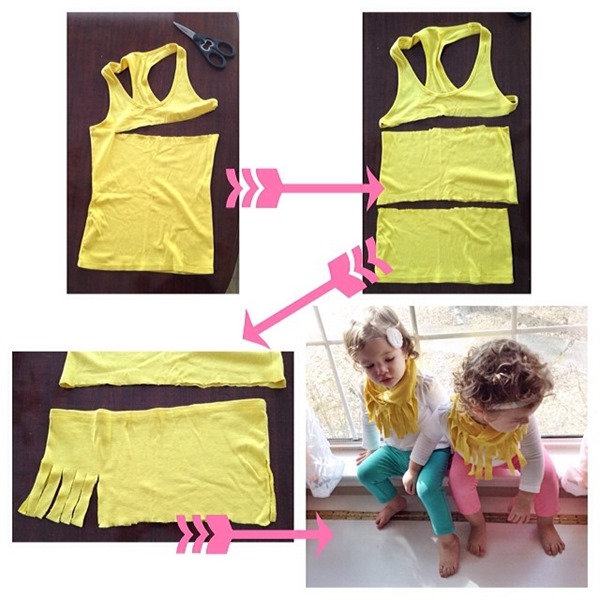
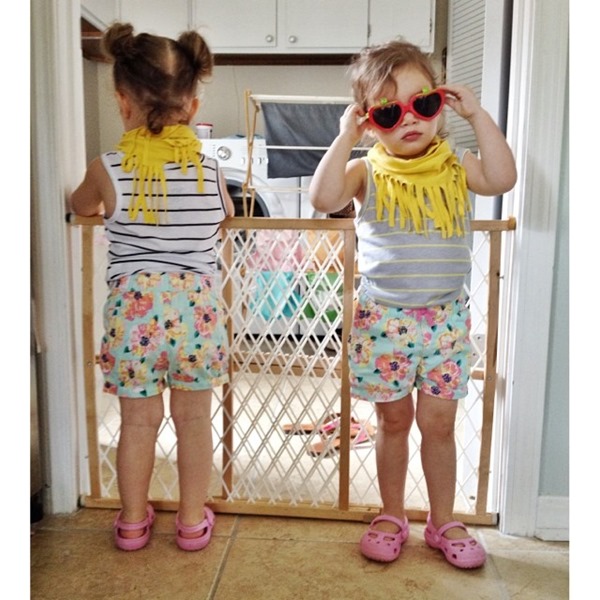
A short time ago I was about to toss an old tank into the donate pile when the idea struck again and two more mini fringe scarves made their way onto two mini necks:
diy fringe scarf
[Stolen from this Instagram]

They’re simple, no-sew, and really cheap to make (or free if you reuse like I did!)  They can be worn in the winter:
photo

They can be worn in the summer:
10509503_763085599630_4160172184915151218_n


I made mine out of a cotton/spandex blend tee and like how the fringe strings curled in at the sides.  The tank the girls’ scarves are made out of was straight up cotton so the fringe strings are basically long rectangles with no curling.  Both versions are pretty snazzy doncha think?
IMG_5006blog
[And speaking of snazz, the girls are dripping with it above, no?]

Target must think so too because they’re carrying these right this second:
target fringe scarf
via Target.com

They’re a little longer therefore able to be wrapped twice ‘round the neck (like S & C’s) so if you’d prefer the length, all you’d have to do is find an XL tee to cut up or sew a strip of a knit fabric together at it’s short ends making one big circle, and then cut the fringe strips all along one edge. 

If you make one, let me know so we can be BFFs, that is Best Fringe Foreva.  Okay?  Okay.  #passthecheese

Referee Chic

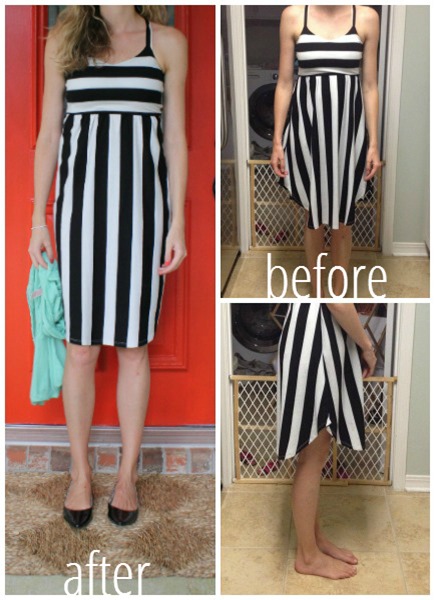
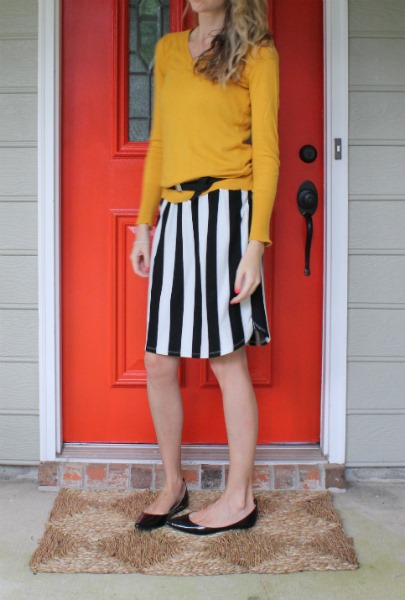
I haven’t done many alterations since Sebastian was born but a couple of months ago my best friend was here and while shopping with her, I scored a black and white striped dress for three bucks at Dirt Cheap (it was Xhilaration, originally from Target).  I had Sebastian strapped to my chest per the usual so I didn’t get to see the inside of the fitting room but I just scooped it up anyway (knowing there was a no return policy) and home we went.  Then I tried it on.  The pattern?  Loved it.  The fit?  Bad, bad, bad.  I had do something and quick so I got out my sewing machine and slimmed the sides of the skirt.  Things went from bad to better and it could probably still use a little more slimming and shaping in the waist area but for now…bwdress
Much better, wouldn’t ya say?

In my haste, I didn’t take a-one picture of my process but basically I laid the dress out flat, pinned and sewed two straight lines down either side of the skirt, cutting out two triangular pieces of excess fabric from either side.  Having vertical stripes helped because as long as I followed those, I was good.

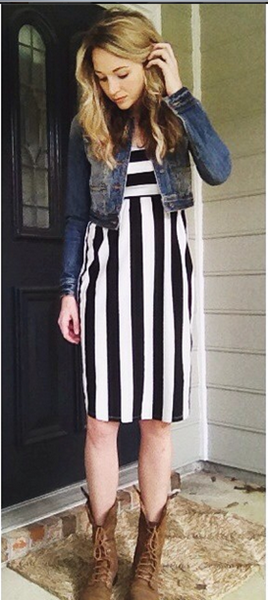
I love how versatile this dress is!  I can dress it up, down, and sideways.  I shared this sneak peek on Instagram awhile back.  Let’s refer to it as “The Concert Goer”:
bw
[Except the last concert I went to was………..long before kids.]

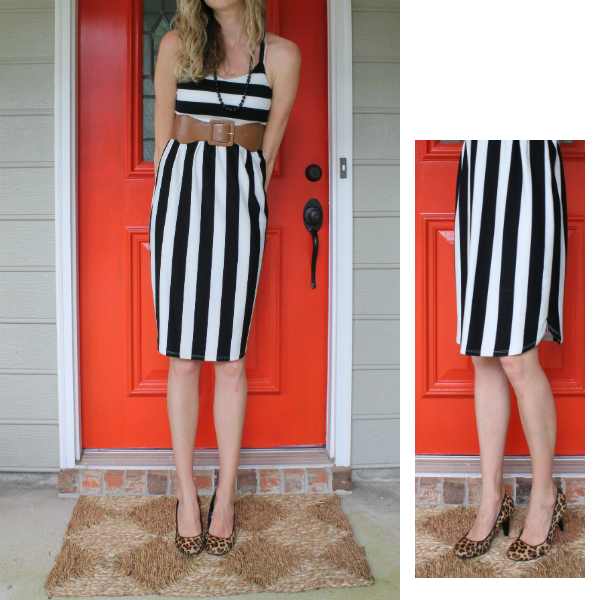
Then there’s “Her Husband’s Date”:
datenight
[See how I still managed to keep the small curve up to the side seam?  I love that part.  :) ]

And the “Throw a Sweater Over It Because It’s Chilly”:
IMG_4862

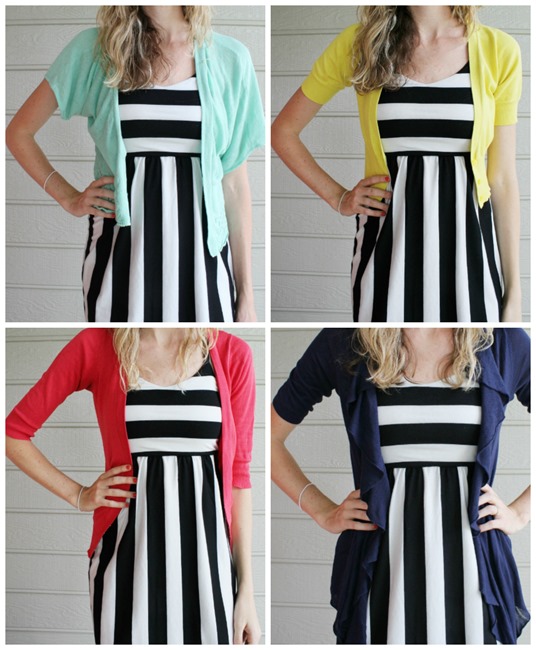
And my very favorite aspect, all the colors of cardigans that there every were can be matched up with it and live in synchronized harmony:
bwdresswcardis

Fingers crossed, this dress brought me out of sewing stagnation so stay tuned for more snips and tucks!