Kids' Bathroom Reveal!

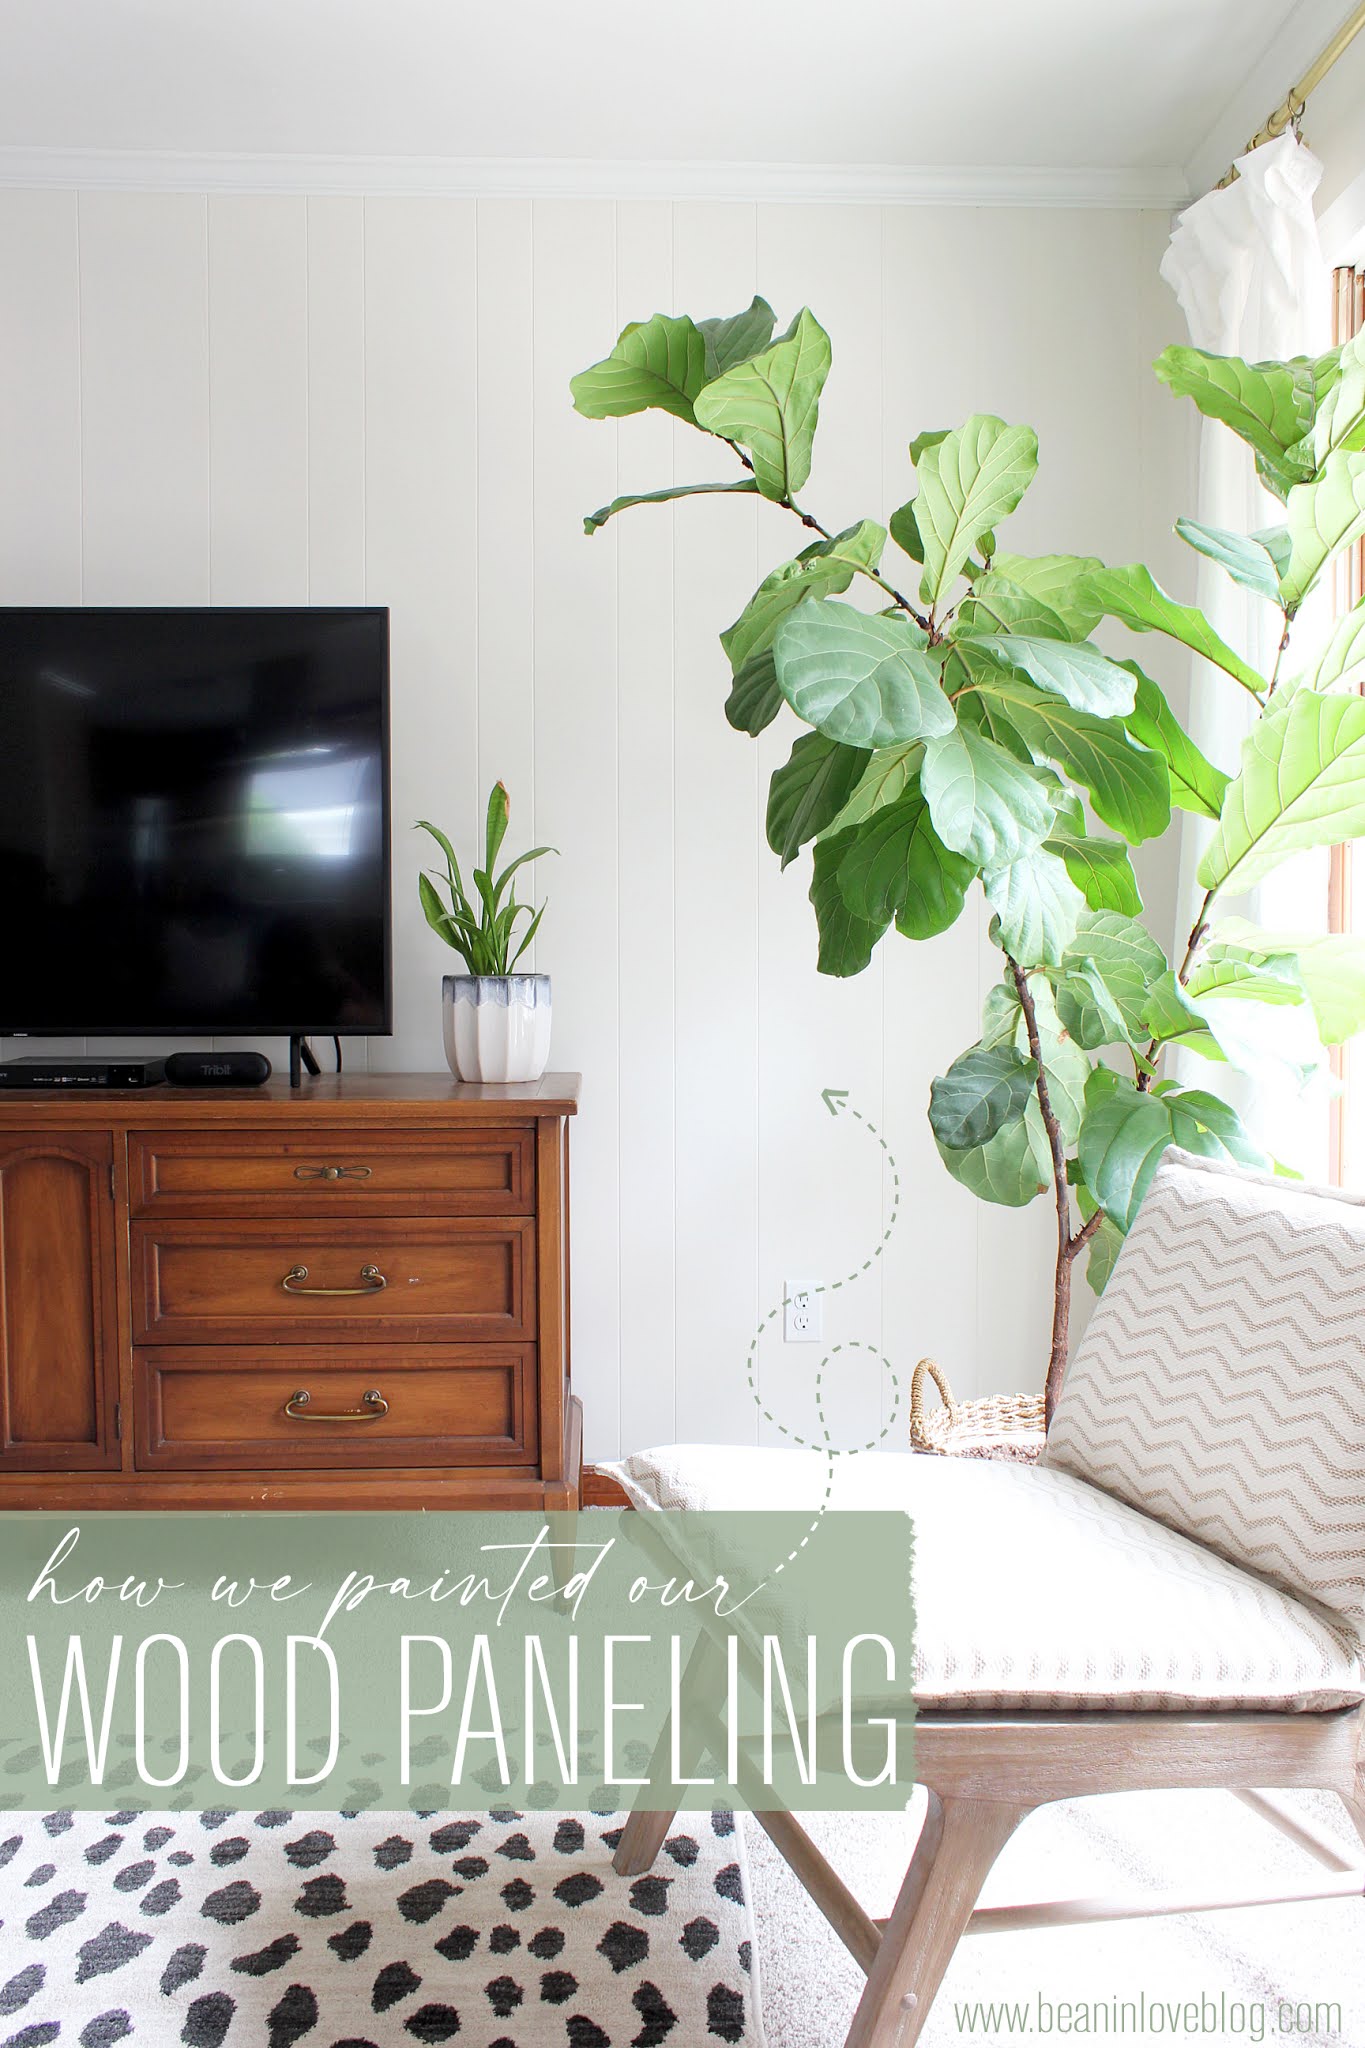
Are you ready for this reveal?  I feel like I've mentioned "we're making progress in the bathroom" one too many times and probably deserve all of the eye rolls for taking so dang long to finish it.  The last we left off, I told you I was trying to find a cheap solution to frame out the builder-grade mirror.  The good news is, I found it.  The bad news is, we didn't get every single thing done we had set out to do in this bathroom according to our inspiration board.  I'll explain in a minute.  More goods news though - we only spent $112 on this whole makeover.  Folks, get ready to feast your eyes on a major difference in aethetics brought to you by a relatively small amount of cash.

 Before:

Like many of the other rooms in this house, this one was wallpaper laden.  Luckily, and probably with the help of bathroom humidity, the paper in this room peeled off pretty easily once we had started.  For months it sat with bare drywall as we worked on other rooms in the house (however, we did seal the drywall in close proximity to the shower to protect those walls from H2O).


Eventually we removed all of ceramic towel rods and those big metal support bars, leaving us to fill in a whole lot of holes.  

We also replaced the light bulbs to get rid of that orangey glow.  If we were into fake tans, that wouldn't be the fake tan we were looking for.

Now:

Scrubba, Scrubba

 I can see the finish line of this little, Phase 1 bathroom makeover...I can see it.  Here's where we left off:


Freshly painted walls that gave us a nice, blank slate.  As much as I'd love to post another updated picture, I have to keep you in suspense.  ;)  Instead, let's get sidetracked and let's move our gaze from those sparkling walls to that floor.  I can't say they're sparkling.  You can't tell from the above photo but if you look closer...


No sparkle in sight.  Not only do they not gleam, but they look like they haven't been cleaned in months...even though they have.  The grout is stained and those spots that look like dirt on the tile are actually bits of wax sealer.  When we first moved in, I took a scrub mop and some bleach and went over the floors quick just so I felt comfortable letting our kids walk on them barefoot.  They were probably "cleaned" before the house was put on the market even though it really didn't look clean thanks to the stained grout but you know, nothing is clean enough until you do it yourself.  Anyone else feel like that?  Just me?  Okey dokey.  Well, they must have sealed the floors after that "cleaning" and whatever sealer they used came right off in clumps when I started scrubbing with bleach.  I picked up the majority of it while I scrubbed, but assumed I could just keep scrubbing and brush the rest up after the floors dried.  WRONG.  That wax dried and stuck and it was going to take another big scrub to get it back up and off.  At the time, we were also knee deep neck high in scraping popcorn ceilings so scrubbing the floor a second time quickly sank to the bottom of the priority list.  But at least they were sanitary, right?

Lincoln Cane Chair Makeover

Right before we moved out of our rental last year, we bought these chairs:

They're from Target* and I grabbed them because they were on major clearance in the teal color - we paid $140 for two.  We had been on the hunt for some smaller chairs to replace the big, hand-me-down club chairs we had and since secondhand searches hadn't turned up anything we liked for months and months, the discounted, new route looked pretty good. 

How to Paint Wood Paneling


My fingers haven't been so excited to type out a title for a long time.  It's one thing to be done painting the paneling but it's a whole 'nother feat to get up a tutorial about it - only took me a couple of months...HA!  It's a hefty one with a lot of carefully ordered steps to help you along if you've been thinking about laying a fresh coat on the wood paneling you've inherited.  We are certainly happy we took on the task.  The end result has us heck-yeahing and has our living room looking a bit more modern. 

We've painted painted wood paneling before in our rental, but we've never painted unpainted, stained and sealed wood paneling before so this was somewhat uncharted territory for us.  There are lots of tutorials written out there but I'm going to let you in on a few tips and tricks and everything we learned to show you a really efficient way to unload some paint onto those dated, paneled walls if you've got 'em and want to bring them into 2020.

First things first, like I said above, this is a doozy of a painting project.  It's not just slapping paint on a few walls and calling it a day.  There is prep and more prep involved and it can get tedious, so before you start, search and scroll through the abyss of photos on pinterest or google of "painted wood paneling" to absorb all the inspiration you can.  You'll need all that inspiration to turn into motivation.  Ok, ok.  Maybe I'm making this sound way harder than it is.  It's hard but it is SO worth the effort.  Take it one step at a time.  You can do this!  Here's our after (or so-far if we're including decorating) to add to the plethora you can log into that motivation bank:

Drum Shade Light Fixture - DIY

I've been stalled in the kid's bathroom by mirror trim that I know exists somewhere but is currently hiding from me.  I mean, I can find a trim solution easily by walking through Home Depot and Lowe's but I'm pretty determined to do this under 10 bucks so that's where I'm getting stuck.  Our local ReStore is all out of trim so no luck there and I know I saw something I could use at a store somewhere in the past month but I can't remember where it was.  This is where decorating on a slim budget gets fun...the patience part.  ;)  

So, while we're getting closer to a reveal post (and let me tell you, it is looking so good!), I'll let you in on a quick little update I put up last week.  Up being a very literal word for it.

Unlike most of the other brass, flush mount light fixtures in this house, the one in the kids' bathroom (there's another in the master bath) was not one to love.  It was not only boring and too small...


but the shade was bedecked with a grapevine and I'm pretty sure that look went in and quickly out of style back in 1983...just enough time for this home's owner to grab a couple before they were pulled from the shelves after the designer realized his/her beautiful grape-laden glass shade was in fact, not so beautiful.  Not a true story for fact but just a probably true one.  Also, if you love the grapes, it's ok.  To each his own.  Personally, I'd rather have my grapes in the form of wine or mixed into chicken salad.  ;)  

Whoop, there it is:

(Pardon a few bad photos to follow - it's really hard to photograph an interior light with an ancient iPhone with zero natural light and no fancy lighting equipment.  I think you'll get the jist though.)

No harm done though because the grapes came down easily and were replaced by a much better shade in under 10 minutes.


This little upgrade is fun not only because it's quick, but because it is super easy to do. You don't need any tools, just a few simple supplies.