And technically there is no such thing as beyond that because, well, it’s infinity. So, sorry Buzz. Better luck next sequel.
Sorry, was that a bad intro? I tried as hard as I could to think of some pun with the word plaid but the only thing I could come up with was something like “They Got Plaid” (you know, like “They Got Played”), but considering I’m pulling the two tots into this post, it seemed a little off kilter. Toy Story seemed the right road to travel. :)
“Let’s get to the point here, Bean, Legume…whatever you call yourself”. Right. Specifically, this:
I was at our local Hancock Fabrics a couple of weeks ago getting something or other that I needed when I strolled past their remnants basket and spotted this plaid, flannel remnant: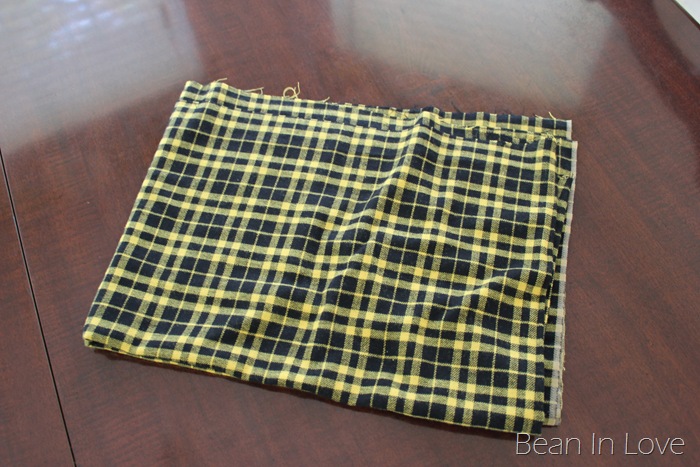
It was nice and soft and I had been wanting to make some scarves for the girls (and plaid is “in”, right?), so I snatched it up. It was marked down at $2 a yard and the remnant was a smidge over half a yard; the perfect amount for two little scarves.
So first things first, I cut it in half so that I had two pieces measuring 20 in. x 29 in. each. 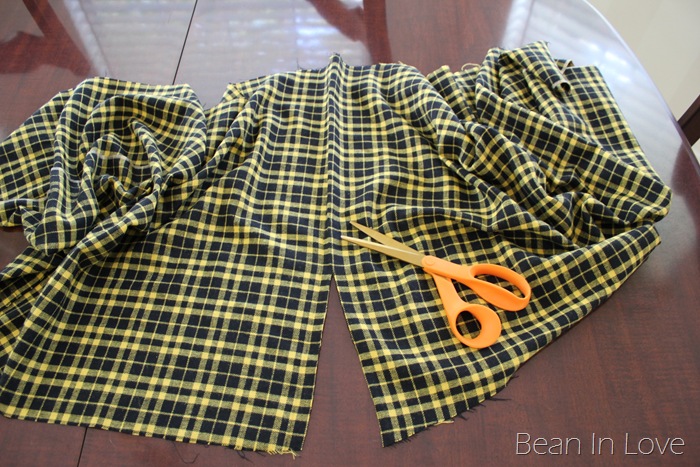
Then I sewed it into a circle/tube. If you make your own, here’s where to sew (iron-on tape would work too!):
To get a seamless-looking connection where the two sides would be sewn together I first lined up the edges, folded one over the other, folded once more, and pinned the seam in place before sewing together. Here’s a step-by-step guide: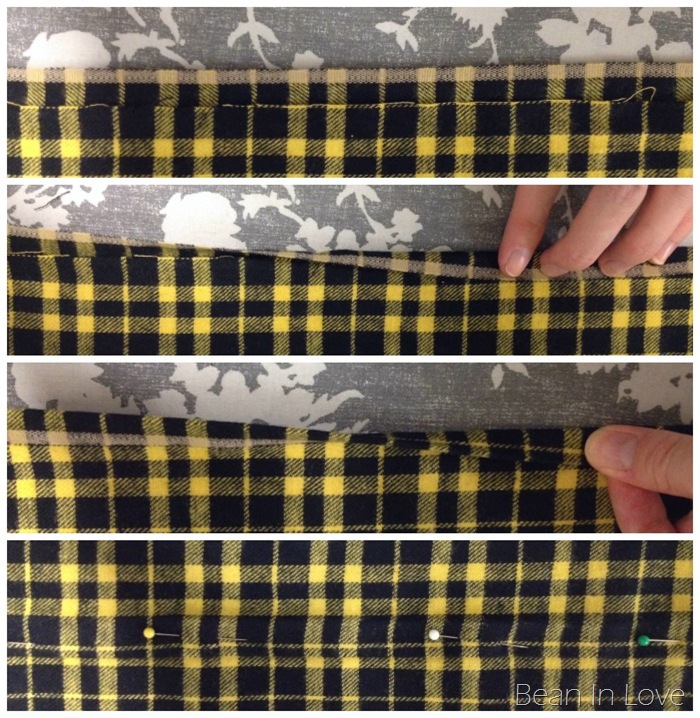
Make sure you only pin the seam though! You might have to put your hand in between the two layers of fabric (down the tube) to make sure you’re only getting the seam and not the seam plus the other side of your tube of fabric.
Last, stitch down the seam, cut the excess strings, and you’ve got yourself an infinity scarf in a matter of minutes. Just a few side notes: I didn’t measure the girls’ heads or necks to figure out how big around I wanted the scarves before I started so they’re a little on the loose side. I probably could’ve made them a little shorter around for a more snug fit by cutting the initial rectangle to 22-3 in. x 20 in. instead). Also, if you make your own tot an infinity scarf, I’d play it safe and make it so that it just fits right over their little noggin’ once without looping it over again. If you make it loose enough to be doubled up, I’d be afraid they’d either pull on or get one loop stuck on something and risk the other getting too tight around their neck. On the bright side however, this is the first article of clothing/accessory I can share with my girls because the scarves fit me perfectly. :)
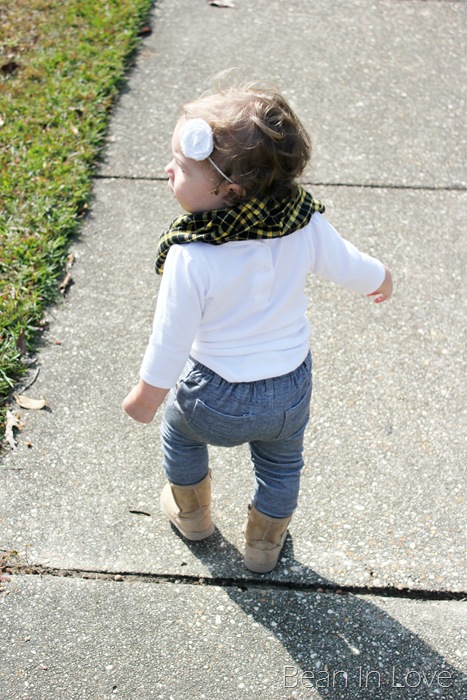
And that’s that. But what would any tutorial be without some cute after shots? Get a load of these two: 
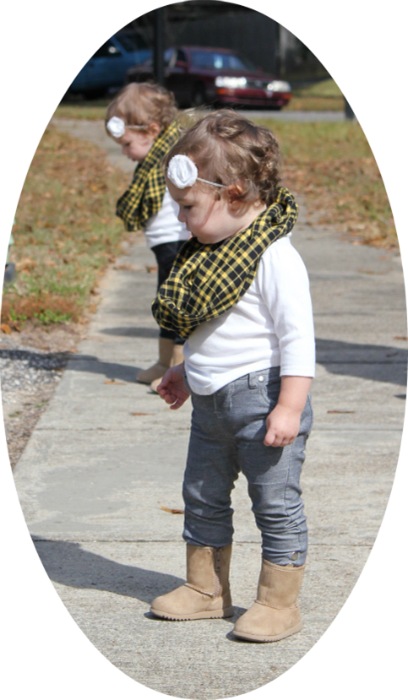
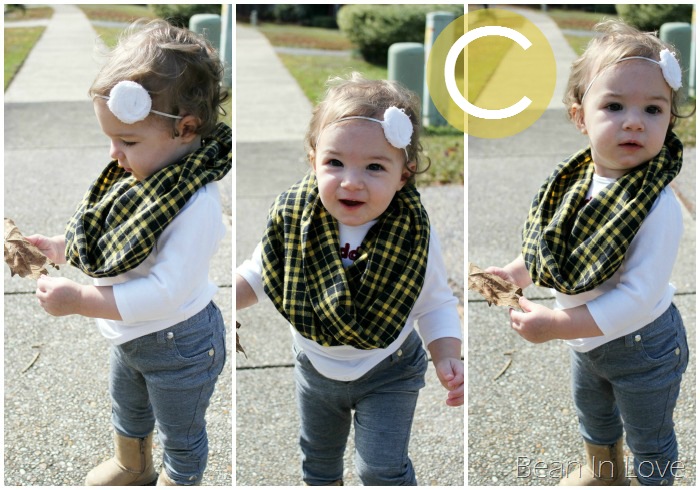
They LOVE being outside and this southern weather is perfect for granting them that wish. Sun, leaves, dirt, sand…they’ll take it.

[Unbuttoned onesies >> Carters, Jeggings >> thrifted Garanimals (C) & Carters (S), Boots >> Target, Headbands >> homemade]
. . .
Stay tuned though for there is more plaid to come and it involves one growing baby bump. AND for all of you that know via Instagram that the ottoman is DONE (finally!), I’m working on getting that very detailed tutorial worded and up but it probably won’t be until next Monday. If you haven’t seen the sneak peek, you can catch a glimpse here.
Have a good Monday folks!

