Our Painted [Upper] Kitchen Cabinets

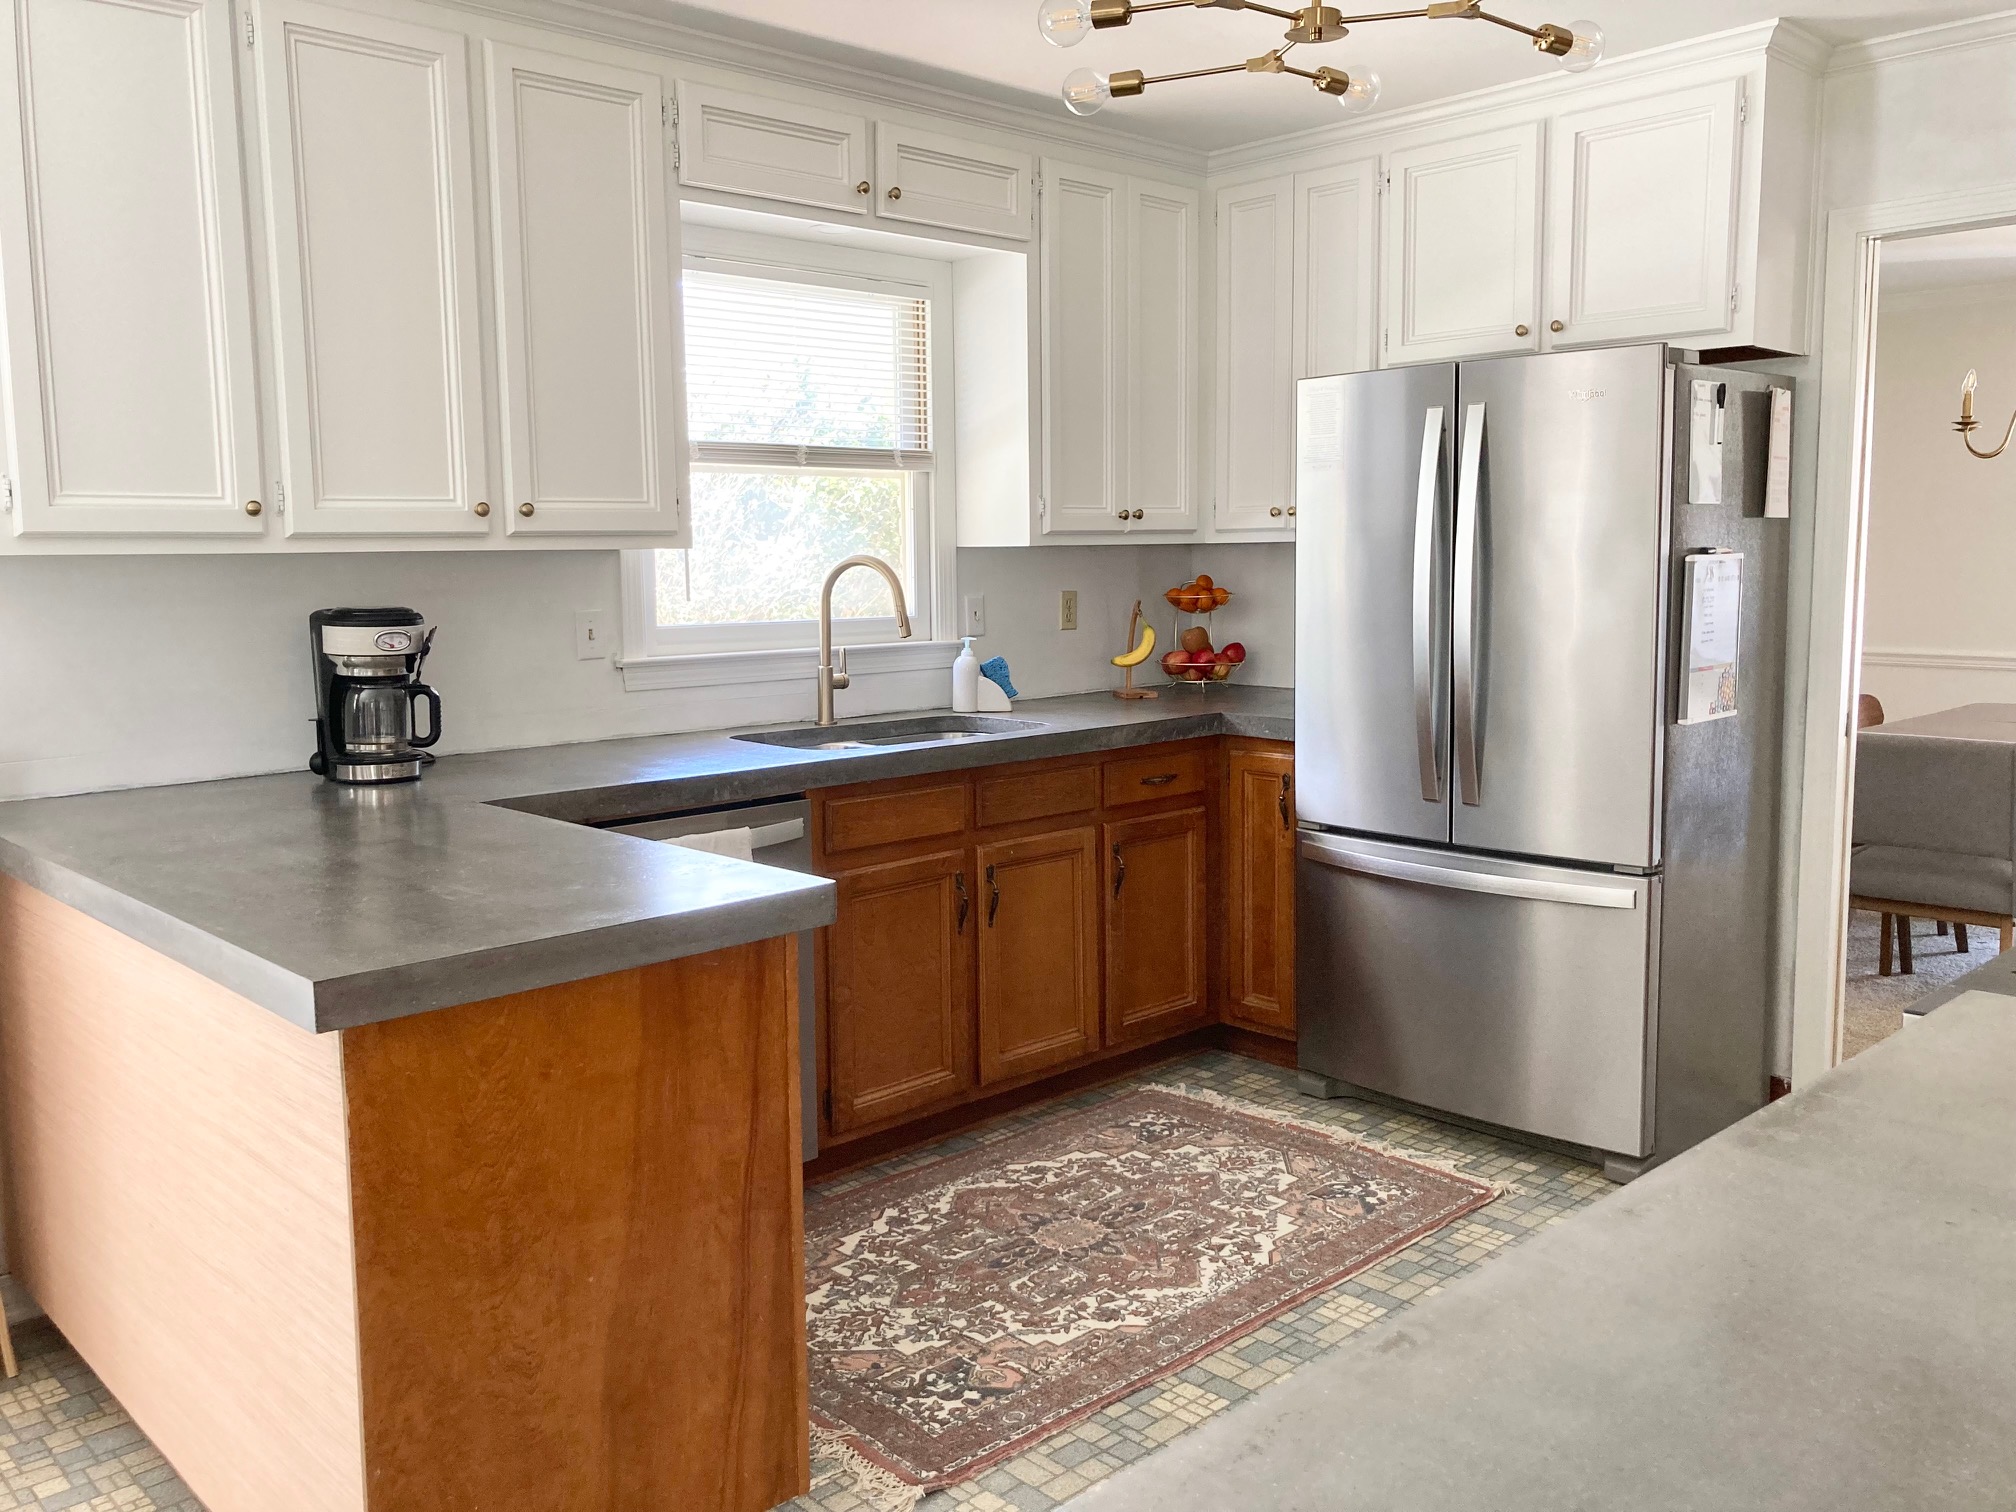
I've painted a thousand cabinets, ok, maybe not thousands...let's see - four kitchens now, four bathrooms, and more dressers and pieces of furniture than I can count - and each time, I've done things a little differently.  Each time, I learn a more efficient way, or a better way to get a smooth finish, or I use a new paint.  So I can't say that I have an ironclad, tried-and-true method to painting cabinets but I can say that I've had great success in the arena.  The same story follows the most recent endeavor of painting our current upper cabinets in the kitchen.

First, I removed all of the doors and the contents of the cabinets.


I wanted to replace the old cabinet pulls with new knobs so the next thing we had to do was fill in the old hardware holes and drill new holes.

DIY Concrete Countertops - Finishing

Alright, where did we leave off on the concrete countertops?  Oh yeah, the SINK!  I can feel that ugh feeling coming right on back...

(Pssst...click here to read about the Part I of our new countertops.)

In our first post about the prepping and pouring, I wrote about how much of a pain it was to install the sink form.  We hoped the pain would end once the concrete was poured but when we removed the form, we had all these big voids.

The frustration was real but we had to move on and start with the process of finishing the counters before we figured out how to make the sink look better.  So, let's talk about the finishing and come back to the sink.

With the concrete completely dry (about five days after pouring), it was time to grind them down so the tops were smooth.  Even with screeding and then floating the concrete after it was poured, the counters still felt rough to the touch, slightly more smooth than something like our sidewalk but definitely not smooth enough for a kitchen sponge to glide over.

Easter / Spring Mantel

We are not so great at all-out decorating for every holiday, big or small.  Christmas is the one holiday we do more than usual; this year we even managed to hang lights outside and we felt really accomplished.  But holidays like Easter don't see much of a change around our casa.  (I mean, Easter baskets sitting around and crosses already hanging on the walls count, right?)  But this year, I pulled a Bonnie Engstrom and decorated the mantel for Easter.  It needed a good dusting last week and one thing led to another and by the end of cleaning the mantel shelf, I had a whole new set up.


It doesn't scream bunnies and eggs (because in all honesty, I'm not a huge fan of that dang Easter bunny) but it's a simple nod to the reason for the season.

DIY Concrete Countertops - Prep & Pour

Last year, I wrote a post all about our kitchen plans and in that post I mentioned concrete countertops were on the docket.  Well, here we are, many moons later excitedly crossing that off our list.  And boy, are we glad we can.  What. A. Process. it's been.

The kitchen isn't finished yet - we still have more painting and floors to tackle - but it's gotten to the point where it's skipped right on over the dated to modern line and our new countertops have a huge part to play in that.  


Here's where we started three long years ago:

I painted the cabinets a few months ago and I know that really helps up the ante too.  A post on those will come but today, I'm going to share the beginnings of how we prepped the kitchen for those new counters and poured them in place.  I was going to write a whole big post on the prep, the pour, and the finishing but just adding photos was a bajillion pages so we'll split it up so you can chew it all without choking. 

An Overdue Kitchen Update

 Oh how far we've come...in the kitchen.

I've been wanting to share our kitchen progress for awhile but when I think to do it, another voice says "just wait until you get a little more done and then post an update".  Well, we're slow (but sure!) and so if I wait and wait, you'll never get to see it.  

We are most definitely not done but we've jumped and skipped, more like leaped and bounded, our way to modern-day kitchen in the past three years (almost three years on the dot, can you believe it?!)

I give you...progress: