How to Paint Wood Paneling


My fingers haven't been so excited to type out a title for a long time.  It's one thing to be done painting the paneling but it's a whole 'nother feat to get up a tutorial about it - only took me a couple of months...HA!  It's a hefty one with a lot of carefully ordered steps to help you along if you've been thinking about laying a fresh coat on the wood paneling you've inherited.  We are certainly happy we took on the task.  The end result has us heck-yeahing and has our living room looking a bit more modern. 

We've painted painted wood paneling before in our rental, but we've never painted unpainted, stained and sealed wood paneling before so this was somewhat uncharted territory for us.  There are lots of tutorials written out there but I'm going to let you in on a few tips and tricks and everything we learned to show you a really efficient way to unload some paint onto those dated, paneled walls if you've got 'em and want to bring them into 2020.

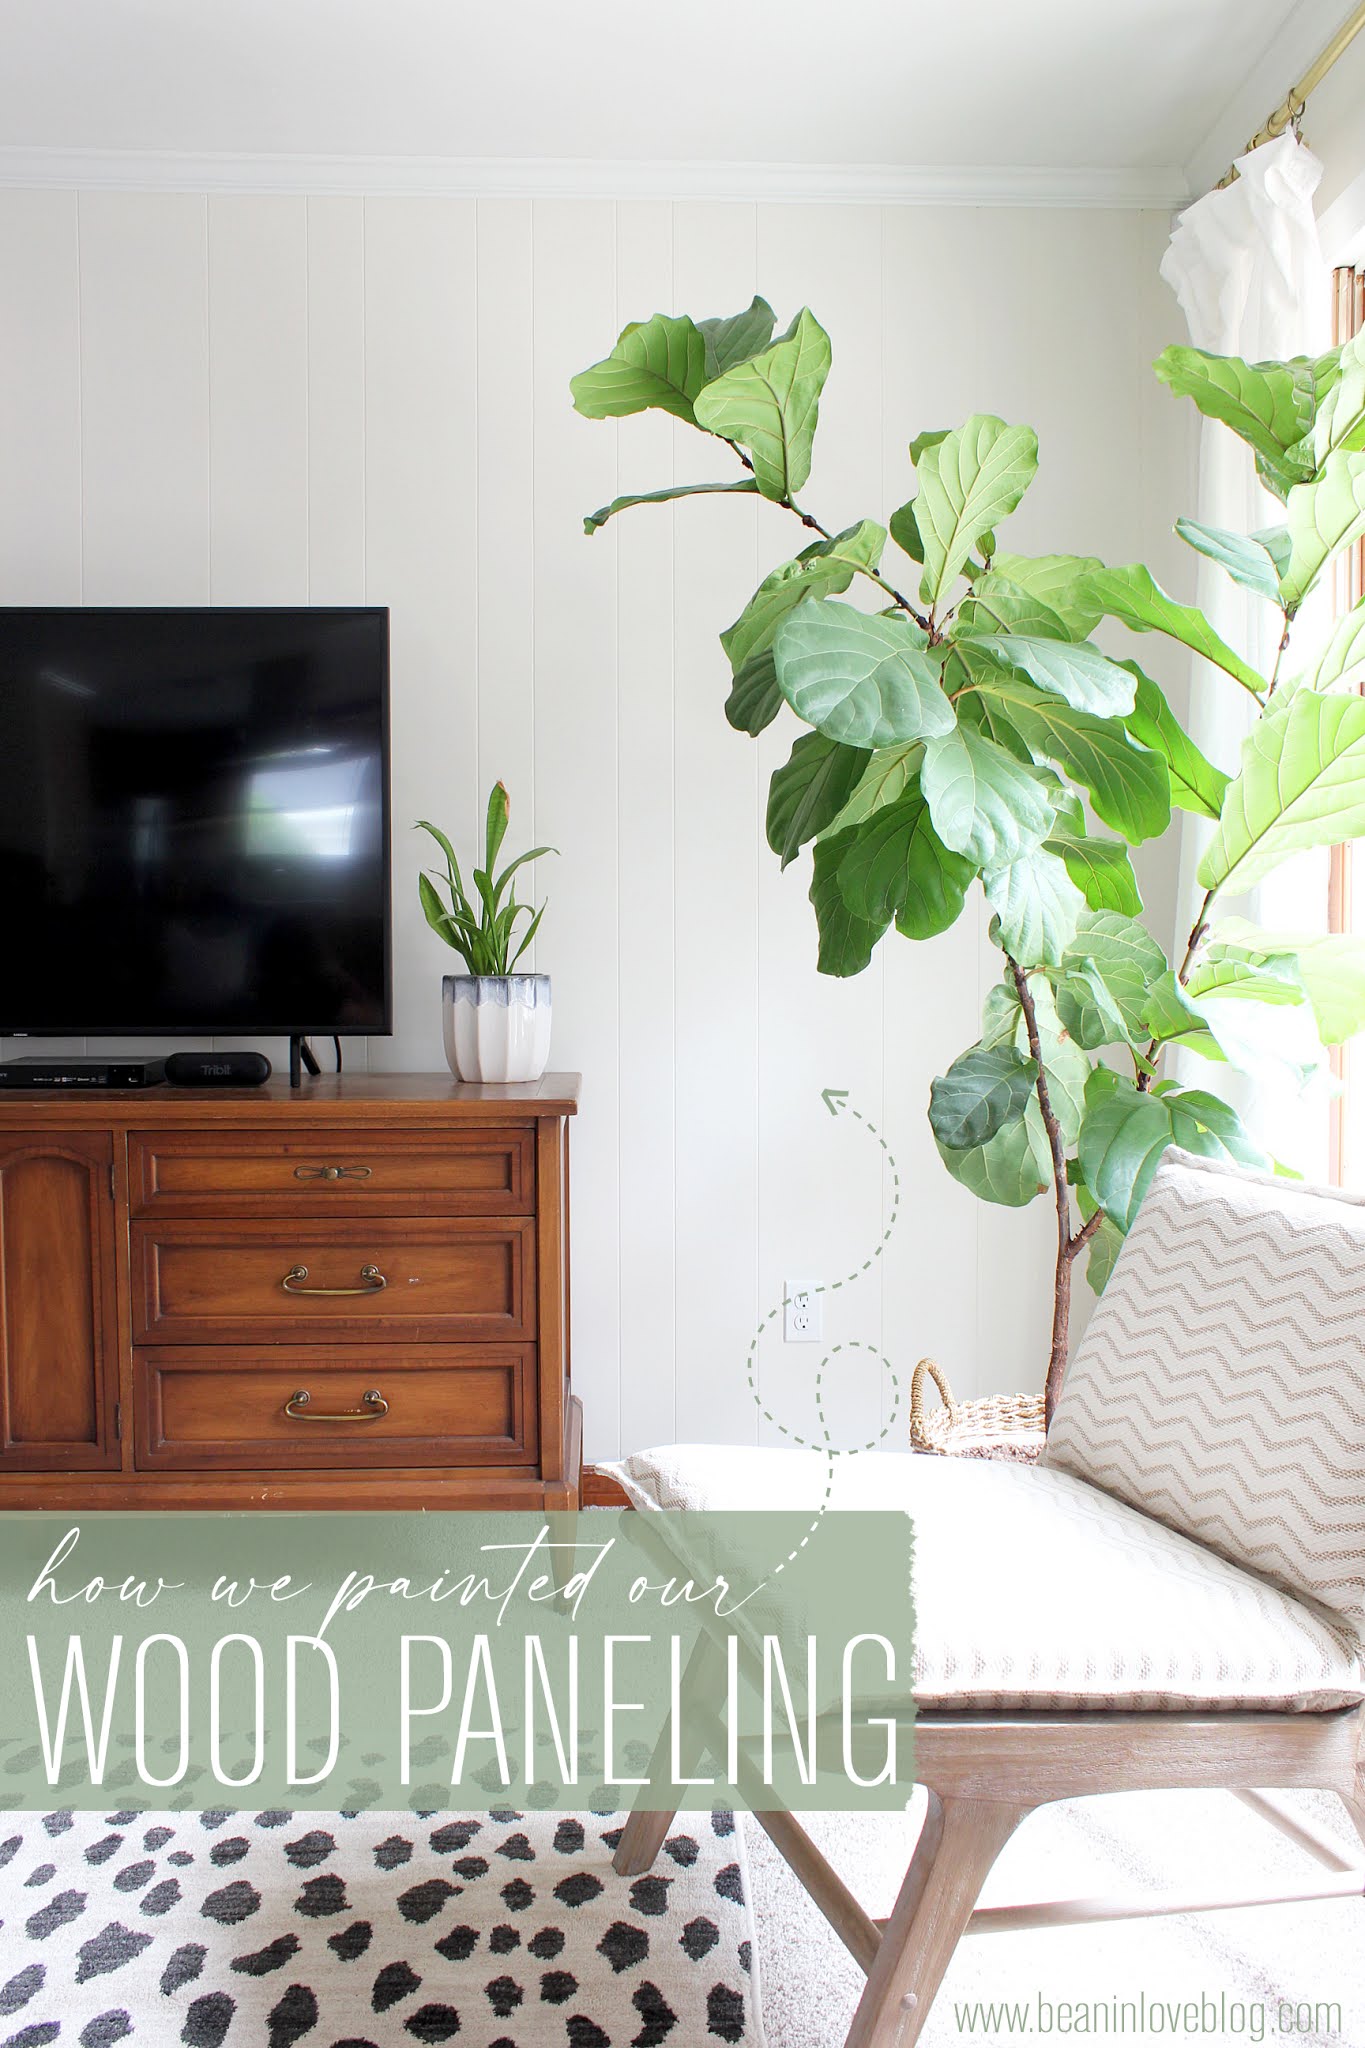
First things first, like I said above, this is a doozy of a painting project.  It's not just slapping paint on a few walls and calling it a day.  There is prep and more prep involved and it can get tedious, so before you start, search and scroll through the abyss of photos on pinterest or google of "painted wood paneling" to absorb all the inspiration you can.  You'll need all that inspiration to turn into motivation.  Ok, ok.  Maybe I'm making this sound way harder than it is.  It's hard but it is SO worth the effort.  Take it one step at a time.  You can do this!  Here's our after (or so-far if we're including decorating) to add to the plethora you can log into that motivation bank:

Drum Shade Light Fixture - DIY

I've been stalled in the kid's bathroom by mirror trim that I know exists somewhere but is currently hiding from me.  I mean, I can find a trim solution easily by walking through Home Depot and Lowe's but I'm pretty determined to do this under 10 bucks so that's where I'm getting stuck.  Our local ReStore is all out of trim so no luck there and I know I saw something I could use at a store somewhere in the past month but I can't remember where it was.  This is where decorating on a slim budget gets fun...the patience part.  ;)  

So, while we're getting closer to a reveal post (and let me tell you, it is looking so good!), I'll let you in on a quick little update I put up last week.  Up being a very literal word for it.

Unlike most of the other brass, flush mount light fixtures in this house, the one in the kids' bathroom (there's another in the master bath) was not one to love.  It was not only boring and too small...


but the shade was bedecked with a grapevine and I'm pretty sure that look went in and quickly out of style back in 1983...just enough time for this home's owner to grab a couple before they were pulled from the shelves after the designer realized his/her beautiful grape-laden glass shade was in fact, not so beautiful.  Not a true story for fact but just a probably true one.  Also, if you love the grapes, it's ok.  To each his own.  Personally, I'd rather have my grapes in the form of wine or mixed into chicken salad.  ;)  

Whoop, there it is:

(Pardon a few bad photos to follow - it's really hard to photograph an interior light with an ancient iPhone with zero natural light and no fancy lighting equipment.  I think you'll get the jist though.)

No harm done though because the grapes came down easily and were replaced by a much better shade in under 10 minutes.


This little upgrade is fun not only because it's quick, but because it is super easy to do. You don't need any tools, just a few simple supplies.

Quick Bathroom Update

 We have...

A BLANK SLATE!


Besides the wallpaper gone and paint on the walls, the biggest difference is in lighting.  


Kids' / Guest Bathroom Plans - A Mood Board

 One of the rooms in our house that's been majorly neglected is the kids' bathroom, which is also the guest room when family/friends come visit.  It was wallpaper laden when we moved in...


and that, coupled with a cheap plastic shower curtain, worn cream trim, and some horrible orangey light bulbs made it look like it was part of an 80's time capsule.
 

Not in mint condition though because the tile grout was (and still is) stained and the paint on the cabinets started peeling off long before we moved in.  But, those are exactly the kinds of rooms we like, right?  

Righty-o.

We got as far as getting the wallpaper off, hanging a much better shower curtain, and attempting to remove the popcorn ceilings (they're oil-based-painted on and going nowhere...womp womp) but that's about it.  


Then she sat and sat and sat.  Very much used by the kids but very much neglected.  We looked away when water got splashed on the drywall from showers but we can't push it off much longer.  We've got to get that drywall sealed and painted before worse things happen.  And while we're at that, might as well take it to the next level and touch up a few other things.  Snowball effect.   

So, now that the painting of the living room is behind us (tutorial on painting paneling coming soon!), I'm moving my energies into this room for a (hopefully) quick makeover.  This is only the start though - Phase Uno.  Also known as mostly using what we've got to squeeze in a makeover that costs less than $100.

Here's the plan:

Living Room Update + Some Fireplace Ideas

Whew!  After a whirlwind romance with primer and paint, we are FINALLY done painting the living room.  Ok, so there a few spots that need to be touched up like where I accidentally got some trim paint on the ceiling but they're not noticeable to anyone but me so I'm going to push them off like a lazy person.  I need a break from touching paint brushes and rollers to any part of this room.  ;)  It was a doozy of a project that required lots of painting after lots of bedtimes because of oil-based paint fumes but hip hip hooray.  We're over that mountain.

I took this a few weeks before we started priming:

So. Much. Wood.  Not even our modern-era furniture can make a dent in those aesthetics.  Instead of the furniture pulling the room more towards 2020, the room pulled the furniture back towards the disco age.  💃

Sometimes I feel bad for even wanting to paint over stained wood in great condition but, in this case, we're both so glad we did.  It's like a completely different room!