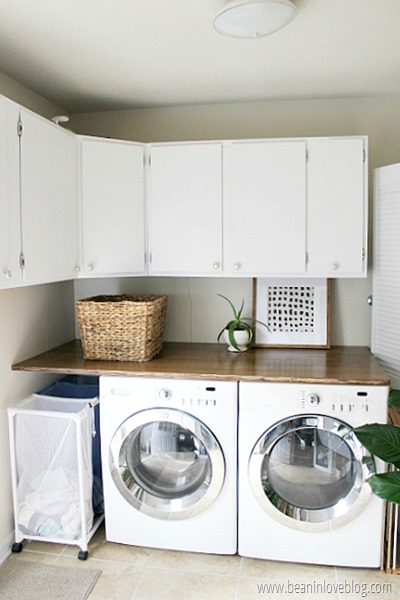
I’ve been trying to add more plants to our house…I’ve probably mentioned that before. Luckily, they melt right in as easy decor so you really can’t go wrong with placement or type or anything like that. I don’t know if it’s just in the past few years or if it’s always been this way and I’ve just never noticed, but I don’t think there’s a picture in any popular home decor mag or blog these days that doesn’t have a plant in it. Aka, it’s super popular to have plants growing in your casa in the twenty teens. But, that’s not the main reason why I’m sneaking them in to our house. Anthony, who has always been against plants in the house (because he thinks they attract bugs…is he right? idk) all of a sudden changed his mind when he read an article about how they filter and clean the air in your home. I love the natural look plants bring to a space so you can bet your booty I grabbed a few to bring home as quick as I could after his change of heart. Certain plants clean your air more than others so I’ve been trying to be very intentional about the plants I buy – I really only want those that clean the air the most. The big Peace Lily we have is one of those plants. In the past few months, it’s been playing musical room, going from the kitchen to the laundry room and now to our bedroom – all rooms that get a good amount of natural light. I think it’s parked in our room for good though and I’m popping in today to show you exactly what it’s parked in.
Several months ago, I came across a couple of big planters at Goodwill. You could tell they were pretty old and had been well loved by the plants that had once inhabited them but, well, they were stuck together. Like, one was nestled tightly and seemingly-permanently into the other. But, they were both marked at $1.99. I didn’t feel like paying for two planters (even if they were cheap) if I coudn’t get them apart though. So, I pulled and wiggled and wiggled and pulled and even had a strong male employee try for me but the planters looked like they were stuck for good. Thankfully, Goodwill let me pay for one even though I got two, since we both figured I’d have to break one to end up with one. And then, I got home and my amazing, incredible, fantastic, what-a-guy husband separated the two planters without breakage! Huzzah!
You can kind of see one of the planters in this Instagram shot and here is the other: 
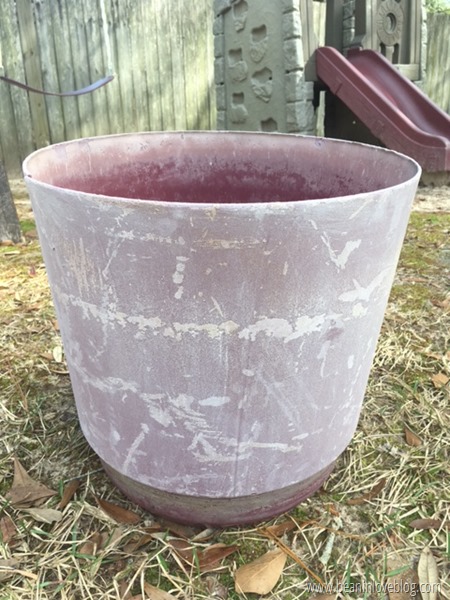
This is after I cleaned it – it had some sort of grainy film on it that I had to painstakingly scrub off – but before I used up some old spray paint to liven it up a little. I thought I took pictures of the process but they are nowhere to be found. Basically, I painted everything but that little indented part on the bottom navy blue (Krylon), taped off the bottom of that big top part, and then painted that indented part on the bottom gold (Rust Oleum). You’ll see what I mean in a minute.


