Showing posts with label Re-Fashion. Show all posts

Cuffergirls

It’s rare that I can begin a project and see it through to the end in one day but this past Tuesday, I did just that.  I’ve had some thigh-high womens’ socks in my “to sew” pile for a year now and finally got around to refashioning them into…IMG_8244…boot cuffs for the littlebig girls.
(PS, grandma got the girls these boots I was all heart-eyed over and they are just as cute and deserving of that emoji in person.  So, in case you’re in the market for some toddler booties, I highly recommend these!  They’re linked towards the end of the post!)

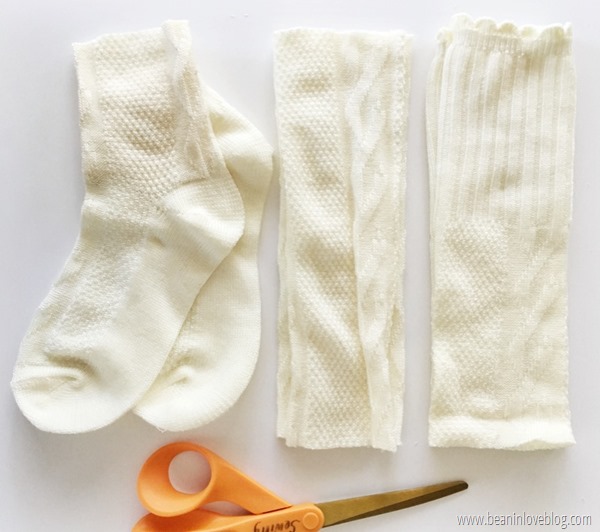
It took me about ten minutes total to grab the socks,
IMG_1276
cut each shaft into two equal lengths (which, by the way, leaves mama with a pair of crew cuts),
IMG_1277
and serge the unfinished ends.
IMG_1280Don’t have a serger?  Just sew a zig-zag stitch around the ends.  No sewing machine?  Grab some matching thread and sew a quick whip stitch around the top edge.  Don’t worry about perfection.  Worn, they’re scrunched up anyway so no one will be able to critique your whipping.

When the air down here eventually dips below sweltering during the day (November, here’s looking at you), the girls will actually don them outside for longer than a two-minute photo sesh. 
IMG_8241jeans:  Carter’s clearance last year // similar
sweatshirt tunics:  Carter’s clearance last year // similar or this one would be so cute too
scarves: 
diy // similar
boots:  Carter’s or Kohl’s
hats:  one gifted and one a hand-me-down // similar and similar
tire swing (in case you need a swing option that can hold two tots – we paid $30 for it so watch that price):  Amazon
slightly blurry pic:  juggling the camera with a baby on the hip
*some of the links above are affiliate links
 
Someone was not about to be left out of picture-taking…
IMG_8246…and one eager mama was not about to decline because, just look at that face.

Eat him up.

.           .           .

diy toddler boot cuffs

Maternity Pants Refashion - Khaki-Style

That’s what Jake, from State Farm, is wearing and that’s what I’m here today with.

Although, I can pretty much guarantee you his look way better than mine:
IMG_3314
Or at least way better than mine looked.  Mine might have a fighting chance in the fit arena now.
IMG_7788
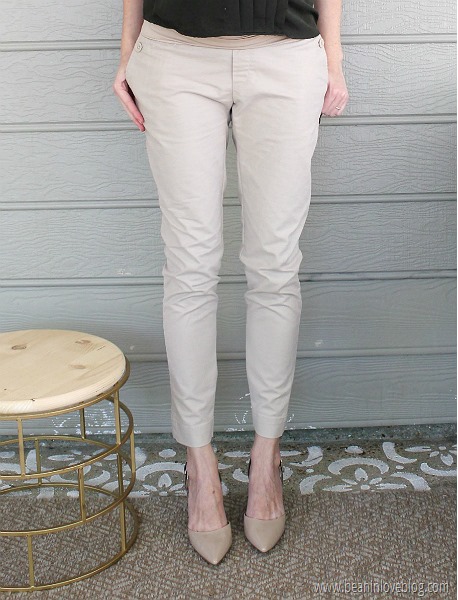
I snagged these Gap maternity khakis from Goodwill ($4) when I was pregnant with Sebastian and never got around to fixing them to fit me…until yesterday.  I was motivated to pull them out and take them to my sewing machine asap after last weekend, when I really had the worst time finding something that fit to wear to church.  It was partly because my brain wasn’t quite awake when I was scouring my maternity wardrobe, partly because all of my other church-appropriate maternity pants were in the dirty laundry and partly because, hello, this might be my last pregnancy so, better get on that stat.

I didn’t take pictures during the process because I used the same process I’ve used to slim down every other pair of pants I own that needed it (see here and here) but I did play dress-up so that in the coming days, I’d have some idea about what to pair with these “new” pants during those moments when “I have nothing to wear with themmmm!”

Just humor me.

And then, answer me this…are pregnant women even allowed to wear belts?…because the idea looked great in my head not to mention, I love belts so I’ve been going through a little bit of a withdrawl.  I tried it way back when and I liked it but this time it kinda looks like I’m wearing a woven support belt.  Maybe it’s because my jean vest might be a little too short to pair with a belly therefore exposing the entire belt when just the front would suffice?  Either way, here we have something I can sport on the daily:
IMG_7760

This one’s my fave and it would’ve been perfect to prance around in on an Easter egg hunt with the tots:
IMG_7763
For all my grocery store/Target runs:
IMG_7780
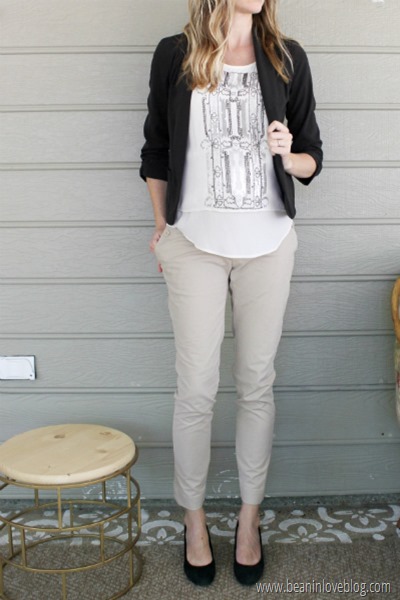
And I don’t even know what the scene would be for this but this beaded top is one of my favorite (non-maternity) tops and I’m millimeters away from not being able to wear it anymore so I might have to indulge before that happens.  Plus, a blazer sounded fun.
IMG_7790
And this is when a humongous, monster bug went flying by and for a split (terrifying) second, I thought it was inside the screened-in patio with me.  Self-timer didn’t miss my reaction and I’d be remiss to not include a blooper so…
IMG_7781
May all the bugs always, always stay on the other side of that screen and may the rest of your day be glorious.

Amen.

.           .           .

khaki trouser refashion

Bean Refashioning: Military Jacket

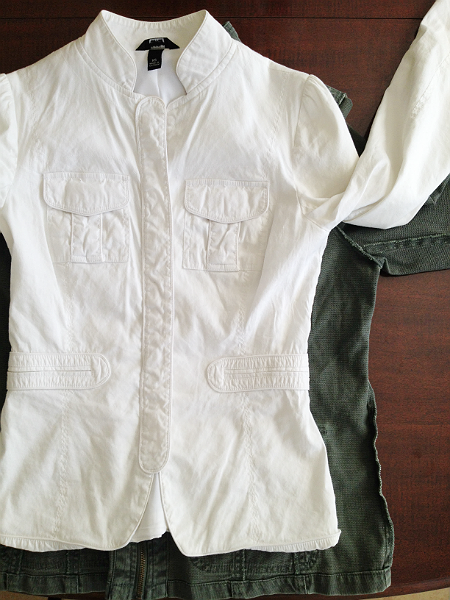
Hand-me-downs.  Love them.  Half of my closet was my mom’s and sisters’…and then there’s one piece from my Grandma.  Yep, you read that right.  This jacket…
IMG_7653…was my Grandma’s.  She asked if anyone wanted it over Christmas and it took me a minute, but I knew it had potential, so I grabbed it. 

But, obviously, something had to give if I was ever going to wear it in public.  First, I took out the sleeves to make them a tad longer.  I took out this seam…
IMG_2651…and that’s it because there was another seam underneath that kept everything nice and finished.
 
I’ve never taken in a jacket before so I was a little intimidated by this refashion, I’ll be honest.  But, since it was free, I didn’t have much to lose if I messed up.  A bunch of seam ripping and another try was Plan B and donating it was the worst case scenario.

First, I zipped it up and turned it inside-out.  Then I laid it out so that the side seams were right at the sides and the jacket was flat along the edges.
IMG_2880There was a litte more fabric in the front of the jacket than the back so that’s why the above picture shows a little buckling on top.  It was more important for the sides seams to line up since that’s where I’d be sewing than for the jacket to be laying perfectly flat…if that makes any sense.

For sizing, normally I might just try it on and figure it out from there but with a belly and no waist, there’s no figuring out anything that way.  So, I grabbed my favorite white blazer that I know has a great fit and used it for sizing.

First I marked out how much I wanted to take the sleeves in.
IMG_2881I lined the two sleeves up along the top and used a white sewing pencil (technical term?) to draw a line onto the military jacket that followed the bottom of the white blazer’s sleeve.

Then I lined the armpits up, starting at the point where my line for thinning out the sleeve ended at the armpit seam, and used the same pencil to draw a line down the military jacket that went right along the edge of my white blazer.
IMG_2883
I made sure to press down the white blazer with my hand along the place I was penciling so that it was totally flat while I traced its edges.
IMG_2884
Next, I pinned everything into place, making sure my edges and armpit seams were lined up, and sewed a straight stitch right along my white line.
IMG_2893
A repeat on the other side of the jacket, a pinking shears to cut off the excess fabric (eventually I’ll serge the edges), and that was that.

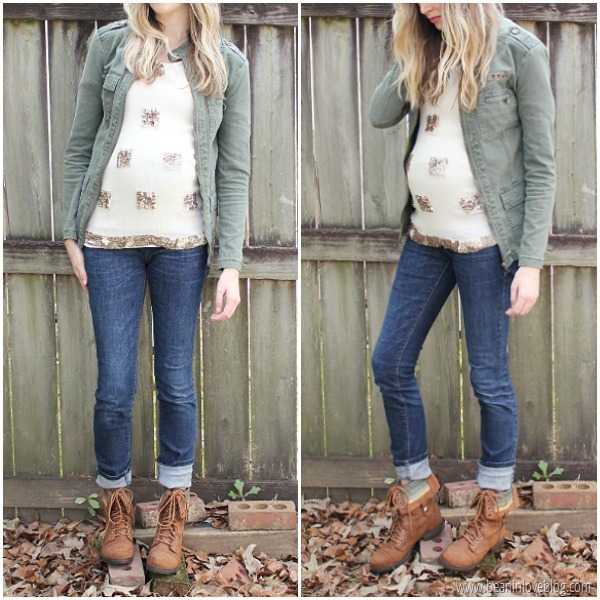
mil jacket2military jacket:  hand-me-down – $0
sequin-embellished top:  hand-me-down (mom’s) – $0
maternity jeans:  hand-me-down (friend – thanks Grace!) – Old Navy
boots:  Target (purchased on sale 2-3 years ago but here’s a similar pair* on clearance!) – $22
grand total:  $22


I can’t exactly zip it up at the moment but that’s totally fine by me – spring and summer don’t necessite zippers unless it’s the fly really, so looks like this chick is in the clear. 

I’ve had a military jacket on my wish list for awhile now so I’m happy I came across one for free, even if it did cost me a little bit of time.  :)

Thanks again Grandma B!

.           .           .


mil jacket

*affiliate link similar to combat boots I purchased from Target

Shortened Black Shorts

I’m long overdue for a refashion, aren’t I?  I think so and the two piles of ill-fitting clothes stacked in our closet sure as heck think so too.  One down though…these black shorts:Image-1
Hilariously, I bought them when I was pregnant with the twins off the 70% off clearance rack at Target (these and these* are very similar and on super clearance!), hoping that (years) after the twins were born, I’d be able to wear them.  They’re trouser style with the slanted side pockets and I loved that they can easily be dressed up or down.  But I wasn’t a huge fan of the length.  I have nothing against long shorts but I’m biased in that I think the five-inch inseam is the perfect one on me.  Also, Anthony has been begging me to take up some of his dress pants and they all need a blind hem so I thought these shorts would be the perfect thing to practice a blind hem on before I take to his good pants.  I used this tutorial to blind hem with my Brother sewing machine.  They turned out okay.  I learned that having a thick hem (there’s an inch-and-a-half hem on these) doesn’t work the best on shorts because, the farther you go up the leg, the wider around the leg is.  So essentially, when you fold up your hem, the bottom isn’t at wide as the top and so you can get a little bit of bunching like I did on these shorts.  It’s not too noticeable though but I still think that I’ll stick to tiny hems for shorts in the future.

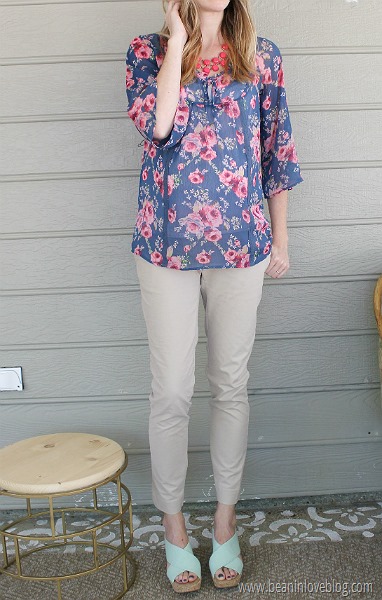
I do love my ‘new’ black shorts.  Here’s how I’m planning on wearing them this fall:

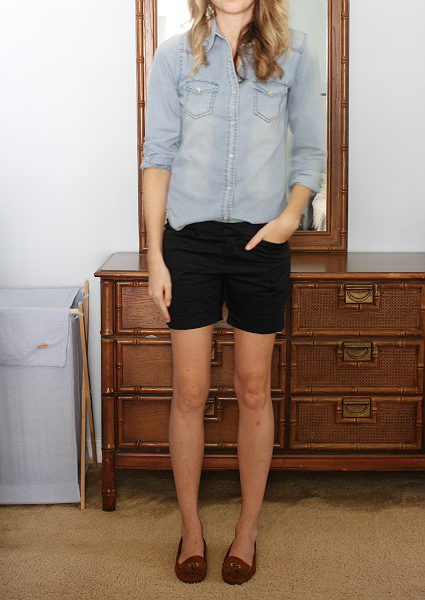
With this amazing chambray shirt my sister handed-down to me and my cognac brown moccasins:IMG_6530[similar (and clearanced) chambray top // similar moccs]


And maybe if I’m brave (or my hair hasn’t been washed for days), I’ll toss on my thrifted wide brim:IMG_6525


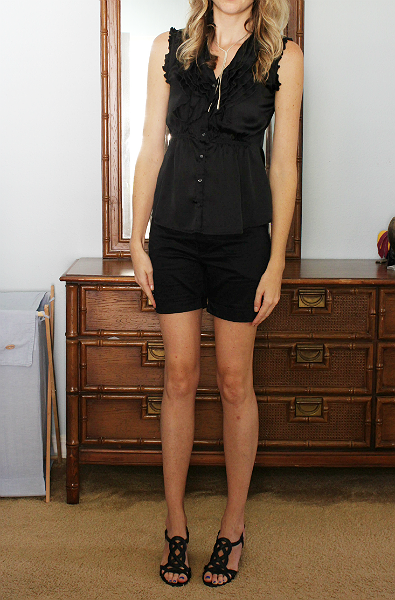
Black on black on black:IMG_6533Date night?  [top was a Target clearance buy several years ago // similar wedges*]


More blacks:IMG_6541[turtleneck from Old Navy years ago // caged flats were a Sam & Libby from Target clearance buy last year]


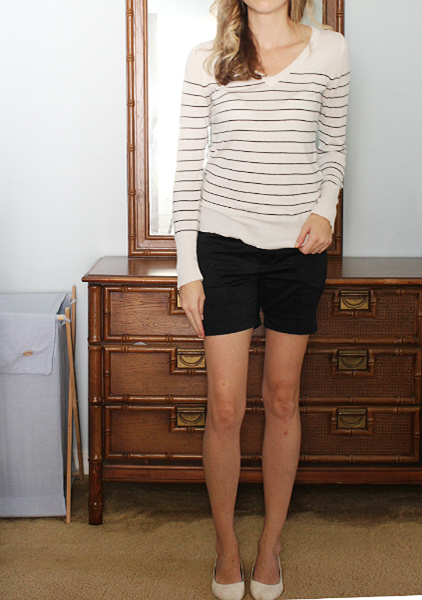
With a striped black and white sweater and pointed flats:
 IMG_6544
[sweater was a Target clearance buy three years ago // pointed flats were $1 Gabriel Brothers find]


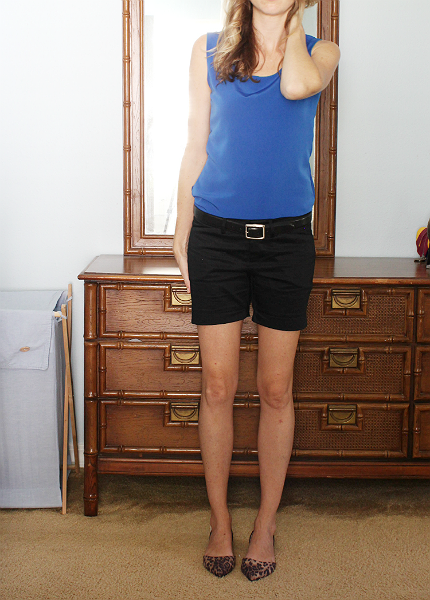
Black and blue (a refashion) and leopard:
 IMG_6551
[flats are Sam & Libby from Target, found at Dirt Cheap recently but I found them on eBay here]


Open chambray, a scarf, and these flats I recently got on clearance:
 IMG_6552
[flats* – still on clearance! // necklace was a recent sale find from Old Navy]


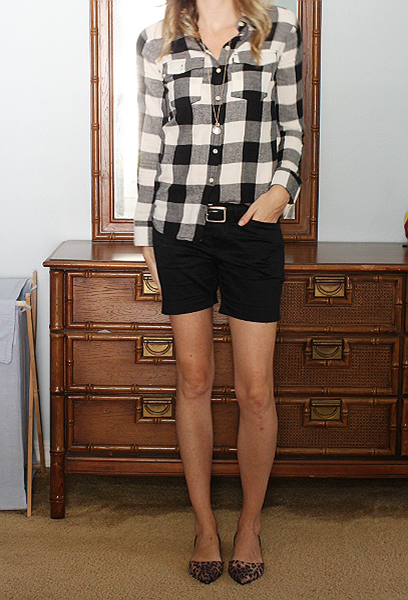
And last but never least, my favorite combo of buffalo check plus leopard:
 IMG_6556
[similar (clearanced!) top with smaller pattern]

Of course all the outfits would look much more chic with better photography and if I had a city street or Central Park as my backdrop but my bedroom it is.  You get the picture, right?

Do you have a pair of black shorts?  How do you wear them?

.           .           .

*affiliate links to products I purchased or similar products to those I wore 

7 ways to wear black shorts

Dress 2 Skirt

For their birthday last year, the girls got these dresses:
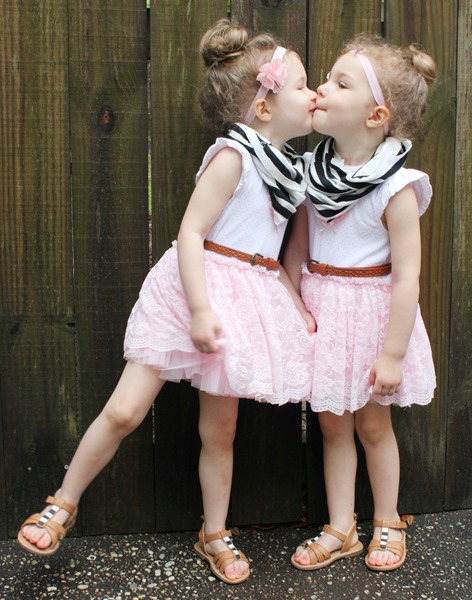
IMG_5942 [Click here to read about the scarves and sandals.]

And I love them because they can be sweet, like in the above pic, or they can be sassy with the addition of a jean vest and some boots.  Basically they’re just so cute they go with everything.

But, as the girls sprouted, they quickly became too short even though they still fit around.  So, since the top part was never really my favorite (the fluffy heart is cute but my style is more on the simple side so eh, to the heart), I refashioned the dresses into a skirt that’ll fit the girls for at least another year.

IMG_6359 You did what?!

I did.  Here’s how.

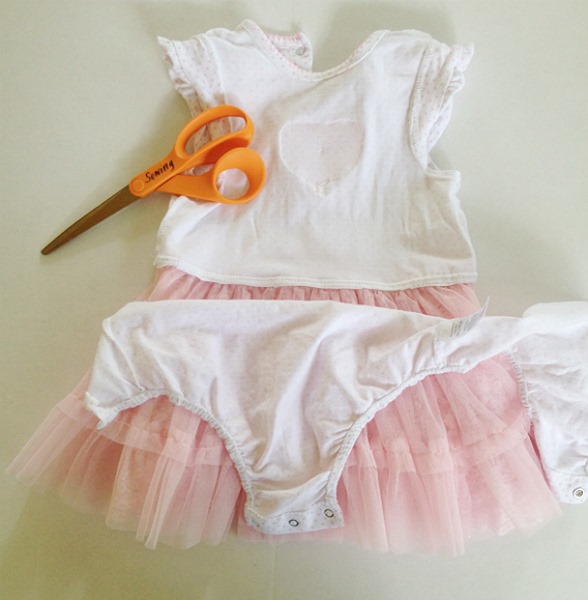
The dress is actually a onesie underneath so the first thing I did was turn it inside-out and cut off the bottom part of the onesie as close as I could to where it attached to the skirt and top. 
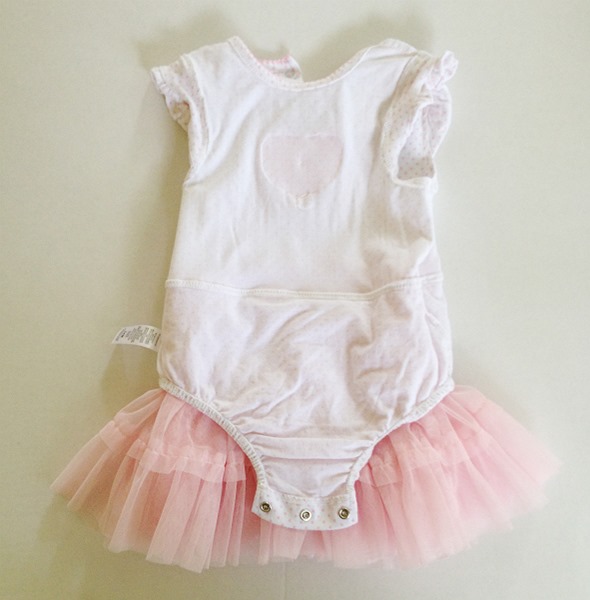
  IMG_9976 IMG_9977 (1)

BUT BUT BUT, I realized after I was completely finished and had the dresses on the girls that I should’ve kept this bottom piece on because it served as a slip of sorts.  Even though there are several layers of lace on the skirt part, you can still see dark and/or bright undies through it so leaving the bottom of the onesie on and hanging would’ve kept those brights under wraps.  Shoot.  Here on out, it’ll be white undies only when wearing these little things.

So, next I turned the dress right-side-out and laid it out flat.
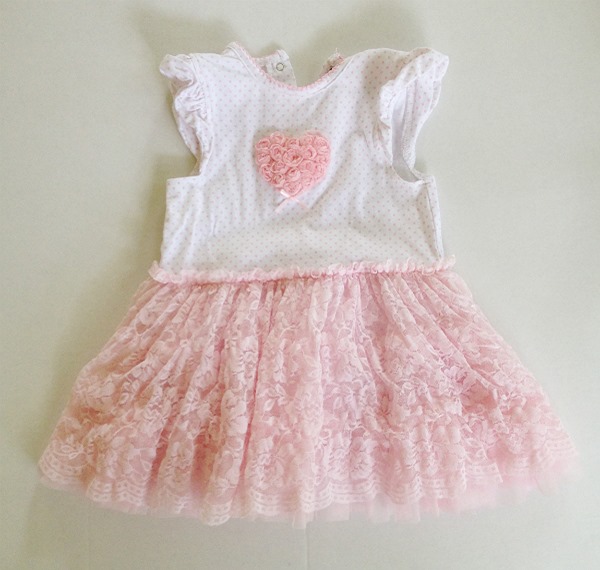
IMG_9975

Then I cut the dress in two by cutting across the cotton bodice about two inches up from the lace skirt.  IMG_9978Note:  because of the thickness of the skirt, it was hard to make sure the dress was completely flat and that the top of the skirt in front and back were right on top of each other.  So, I cut the front and back layers separately; cutting around the entire dress about two inches up from the top of the skirt.
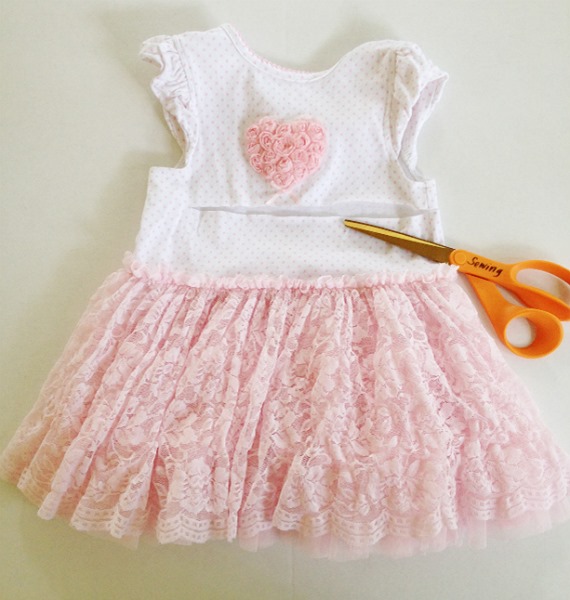
 IMG_9979
Once I had the skirt cut off, I turned it inside out and folded the fabric at the top over, in half.  I folded it so that it folded into the inside of the skirt.  Then I sewed along the edge to make a pocket to fit an elastic band.  I made sure to leave an opening in my stitching into which I fed the elastic through.
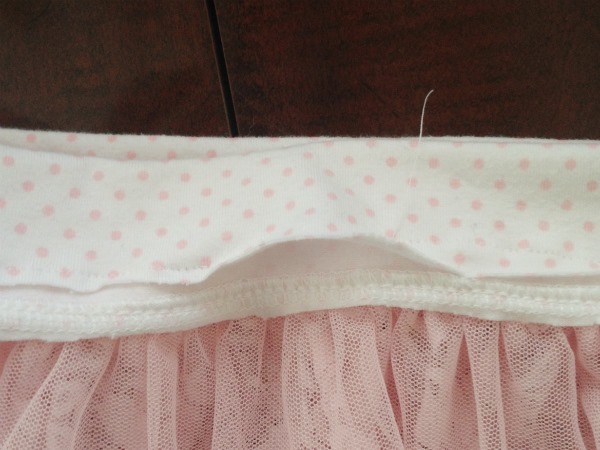
IMG_0215 I inserted the elastic exactly like I did to make this maxi skirt.  (Click that link for a tutorial.)
 
And then I bribed the girls with something or other and took them outside for a little shoot.
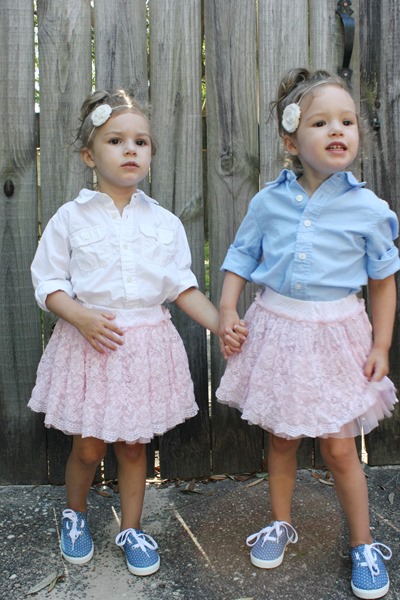
IMG_6362
It’s still a little too sweltering down here to have them wear this get-up outside for longer than five minutes but let me just say, I’m really excited for the fall.
 IMG_6364
And how cute are those tennies?  I’ve been searching for some inexpensive ones for the girls for awhile without any luck and stumbled upon these while strolling the shoe aisle at Walmart.  They’re only $6!  You can’t beat that!  They had white ones too and almost got them instead with the idea of painting them to look kinda like these $25 Vans tennies, but I didn’t.  Maybe someday.  (Psst…you should totally do it!)

These outfits might be my favorite though.
IMG_6370[I tried to get them to put their hands on their hips like all the high school girls these days and this is what I got.  Not awkward at all… ;) ]

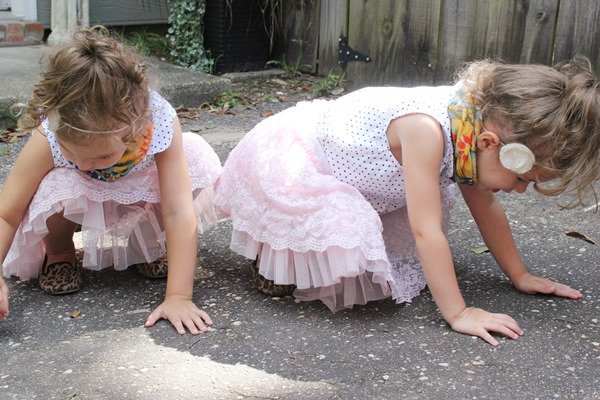
I found those black and white tops at the same thrift store a year apart.  They’re size 4T and I grabbed one last year, saving it for when the girls ‘grew up’ and then couldn’t believe my eyes when I spied the exact same one a couple of weeks ago in the same size!  That never happens!  The leopard shoes on Seraphia (right) are thrifted (and refashioned) and the ones on Cecilia are these from Old Navy that I found on eBay for $7 a couple of weeks ago.  They are as cute and amazing as they look.  The scarves I made with leftover fabric from these kimonos.

Oh and did I mention that they’re playtime-friendly?  We don’t do clothes you can’t play in because, well, #toddlers
 IMG_6375

Minis In Maxis

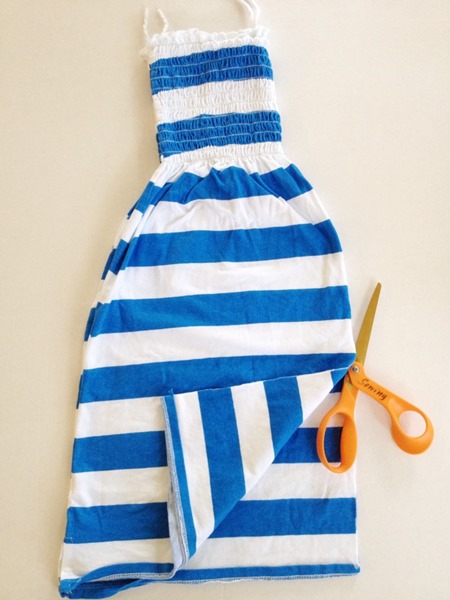
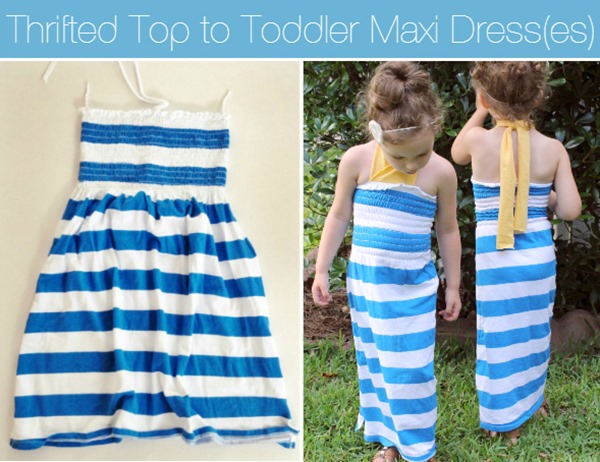
Back when I went shopping for the Goodwill Fashion Challenge, I also snatched up this top for a buck:IMG_0017
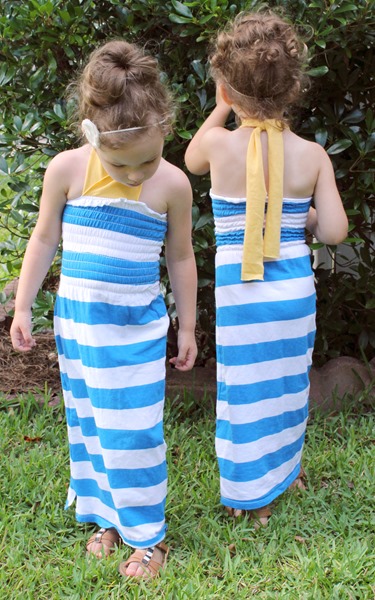
It was hanging on the end of a rack and the stripes caught my eye (what’s new?)  It was an XL so my mind immediately went to turning it into two maxi dresses for the girls.  And so I did.  To do so, I first folded it in half.  IMG_0018
And then I cut it in half along the fold…no measuring here folks.
IMG_0019
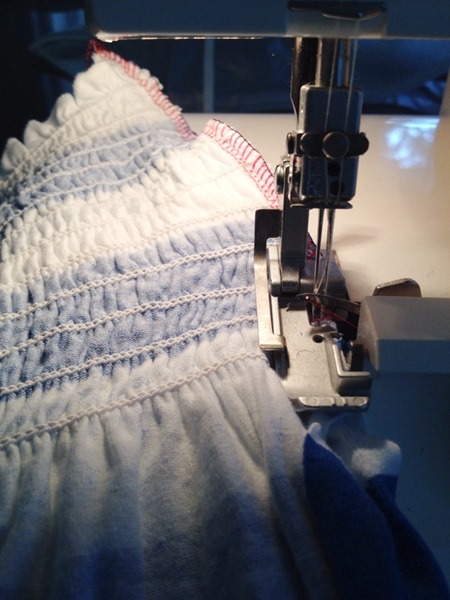
That gave me two pieces of the shirt.  Last, I folded each piece in half, right sides together, with the cut edges touching and serged the two cut ends of each piece together to make two dresses (sewing them together would work perfect too).
Image-1 (1)
Side Note:  If you buy an extra small or small top like this, you can probably get away without any sewing (besides maybe hemming or even just cutting off extra length if it’s a knit material like mine) if you’re looking to make a dress for one toddler.
 
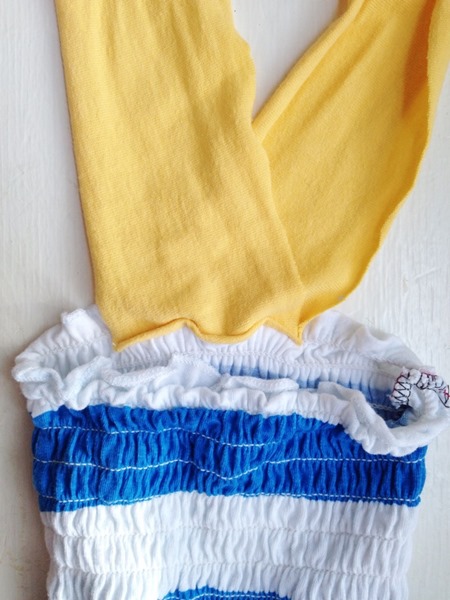
And so that I didn’t age my kids 20 years, I cut two thick strips off the bottom of an old tee, folded each strip in half but forming a ‘v’, and sewed the base of the v to the top of each dress.
IMG_0020Insta-halter.

      IMG_6303
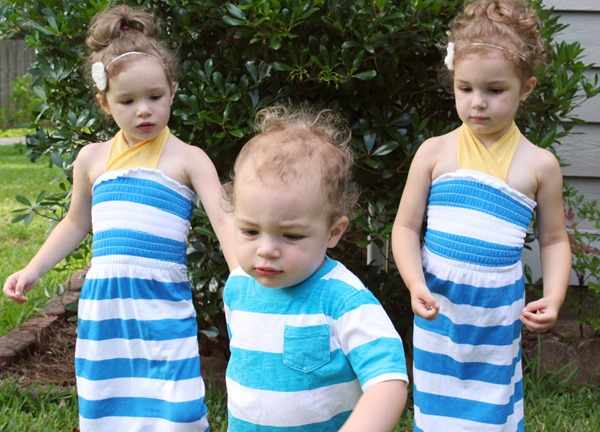
I took them outside with the DSLR to grab some quick after shots and it wasn’t until after I put the good camera away that they gave me stuff to work with.

This is unprompted, iPhone 4S, quality stuff:
  IMG_0021
They’ve been doing this (hilarious) thing lately where they run at each other with arms wide open yelling something in Spanish and crash into a loving embrace…and then die laughing at each other.   (I’m guessing Diego and/or Dora have something to do with it.)
  IMG_0022
Over and over they do it.  We were in JoAnn Fabrics two days ago and while I was waiting to get some fabric cut, they were putting on a show doing this down the main aisle.  I didn’t know if I should tell them to stop running or let it play on to the amusement of everyone around.  I let it go.  Dem girls I tell ya.  :)

Back to their garb though, I didn’t stop with the maxis…
IMG_6293…more on their new diy kimonos later.  (Not only are they diy but they can easily be made with nary a sewing machine in sight!  You won’t want to miss this one!)

And it just so happens that…
IMG_6301Yep.  Birthday present from Grandma this past year.  Totally random but I couldn’t resist.  ;)

Have a fantastic Monday! 


If you like it, then you shouldda putta a pin in it!  :)thriftedtoptotoddlermaxi