What a happy Saturday it is! Happy here because I finally have a project to blog about…’er, rather have found time to blog about! Here’s to hoping I can get back on my regular Saturday schedule from here on out plus maybe squeezing in more posts during the week since I’m usually confined to zee couch with one or two infants in my arms…and since my one-handed typing skillz are world class these days.
Anyway, I’m all about covering windows. There isn’t a window, or door for that matter, that isn’t adorned with some sort of fabric in our house except for this one: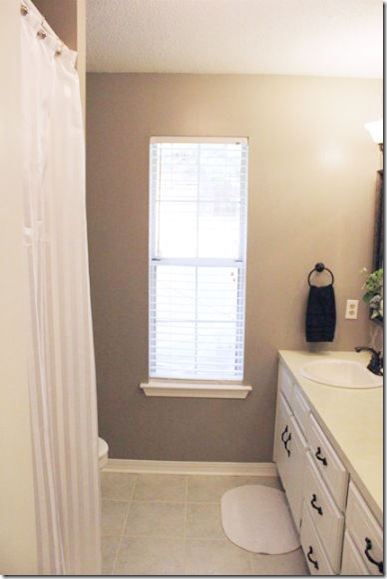
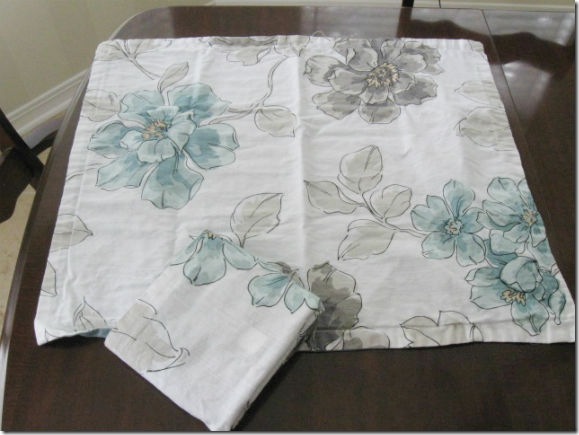
The one in our master bathroom. Well, I’ve had plans to cover it for many moons but indecisiveness about fabric and the baking of two buns has left it naked…until now. Let me digress. A few months ago I had an itch to switch out our plain white duvet cover for something more flavorful but, like usual, didn’t want to spend a ton of money…as in no more than 20 bucks. Well, I found a new cover but when I got it home, I realized I had bought the wrong size and unfortunately for me, I bought it at a huge discount - $10 – at final sale. Poo. So, I did what I do best and conjured up another use for it…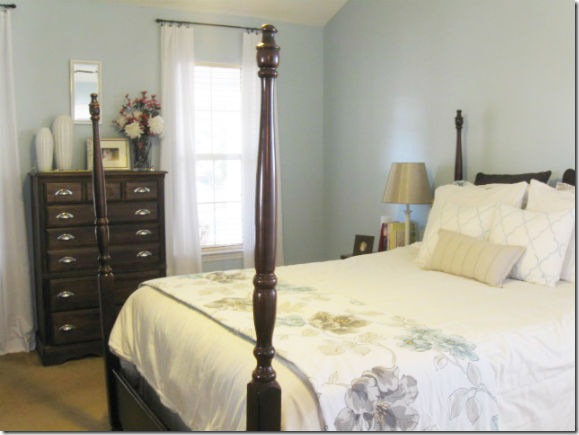 A decorative blanket/quilt/extra layer on the end of our bed. Still unable to find a suitable fabric for the master bathroom window at this point, I had a revelation soon after to use the included pillow shams to cover it up.
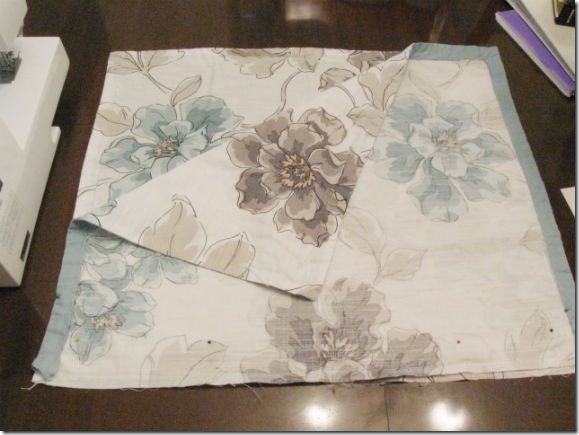
The plan: to make a fake roman shade (similar to this one in our guest bedroom). To do first: take apart the two pillowcases. At eight months pregnant, at which point I began this project, laziness efficiency took over and I simply just cut off the backs of each case (since they wouldn’t be seen anyway), took the seams out of the sides that would be sewn together, and made them one.
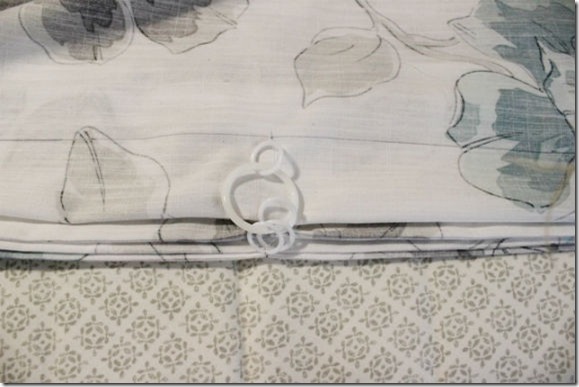
To achieve a roman shade look, I hand sewed 12 plastic rings onto the backside of the shade in three vertical rows that were evenly spaced apart and then gathered each row together using another plastic ring that opened. Hopefully these pictures help explain that mumbo jumbo: 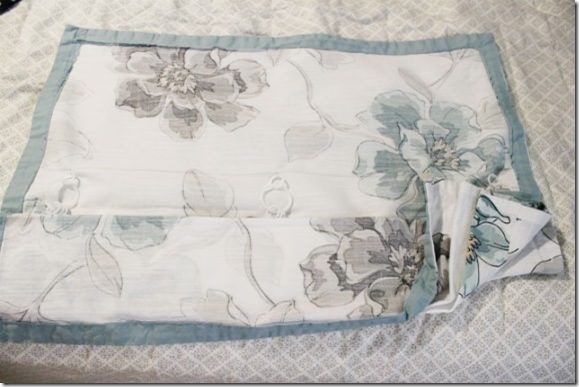
So, fast forward to this past week during a 15 minute slot when both twins were passed out. As quickly and quietly as we could, we stapled the new shade to a pre-cut piece of 1 x 2 wood, attached two L brackets to the underside of the wood, decided on and measured its placement over the window (see side note below), and got ‘er up.
Side note: While planning for the valances we hung in our dining area, I came up with a simple way to figure out the height at which to hang window treatments by holding up a folded piece of paper at a distance, adjusting until I was satisfied, like so: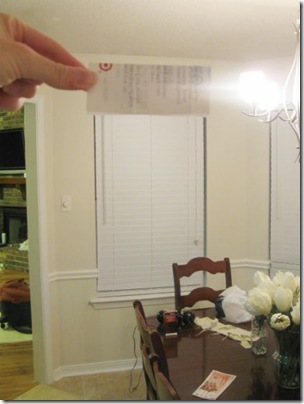
Once again, I’ve learned to never underestimate the power of a window treatment. See what a difference this one makes?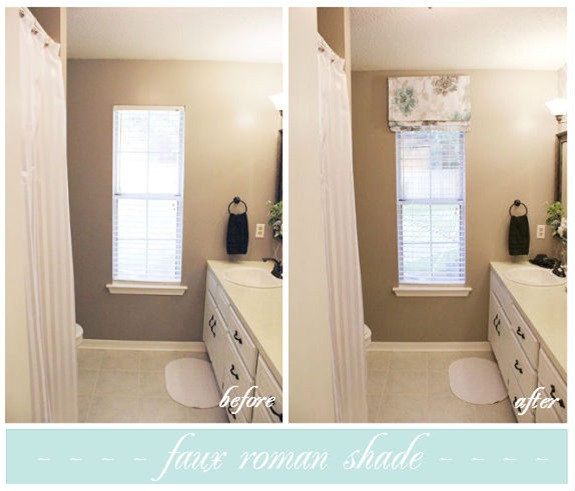
So, if anyone’s keeping track of the DIY madness, so far we’ve tiled the floors, painted the cabinets, painted the laminate countertop, and stenciled a wall in here. Even though, in my mind, the room isn’t yet “finished” (will it ever be?), it definitely looks a lot more complete and homey (if you can call a bathroom that) just because of a little (cheap) addition over the once naked window. :) 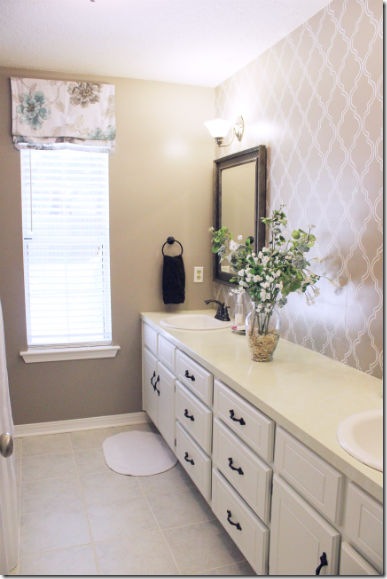
. . .
Stay tuned for more finished projects! The girls were baptized a couple of weeks ago and my sister and I made their gowns and accessories and then of course, I’ve got finished pictures of our “new” kitchen to share as it’s finally done along with progress pics of the nursery! See you soon!





Wow! It makes such a difference! Soo cute! Your bathroom is darling. :)
ReplyDelete