If you missed Part I of this little refashion, read about it here.
After I ‘summerized’ the legs of my hand-me-down pjs, I was left with these: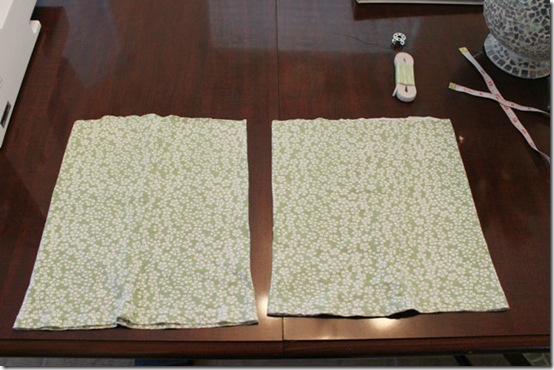
Waste-not that I am, I knew there had to be something I could use them for, even if it just be rags. But then, I don’t know if it was a little reminder jab from one or both of the girls or just a plain ‘ole light bulb goin’ off, but it dawned on me that these two pieces of fabric would make perfect infant maxi skirts! They’re already hemmed on one side anyway, so all I’d have to do is figure out how to add elastic to the top and bang – baby’s en vogue! The only minor problem, I’ve never sewed in elastic before…but, not knowing has never stopped me before, right?
So, materials: 2 pant leg remnants, a yard or so of 3/8 inch elastic (you can use whatever width you desire), a safety pin, sewing needles, and a sewing machine (or your hands and a needle and thread if a machine you do not own).
Disclaimer: Before I begin on my tutorial rant, I must tell you that this little rant in particular is the epitome of “winging it”. Like I typed above, I’ve literally never sewed with elastic so I used what I thought I knew about it as I was too lazy at the time to look up anything of real value. Copy at your own risk/discretion/whatev.
First I pulled out a newborn-sized onesie and measured the belly of it to get an idea of how big/small I should cut the elastic to.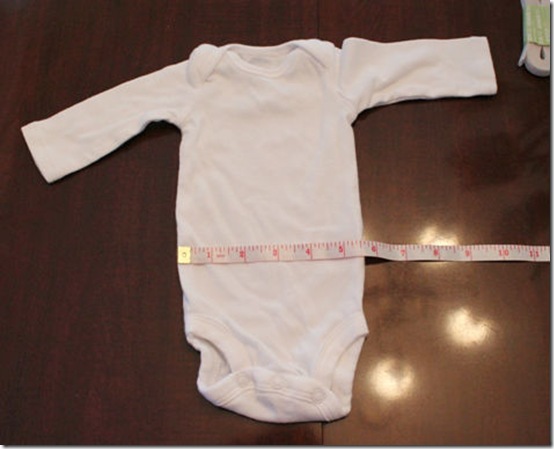
Not knowing exactly where the skirt would eventually sit, I ended up making the top about 12 inches in circumference to allow for baby fat, the diaper…basically whatever I might not be thinking about due to my relatively beginner knowledge on baby wear. If they ended up being too big, I figured they could always graduate from ‘maxi’ to ‘knee-length’ status as baby grows.
Next I sewed a seam around the entire top of the skirt leaving enough of a hem to make sure my 3/8 inch elastic band could fit inside the new pocket of sorts and also making sure to leave a small, two-inch opening to feed the elastic through. 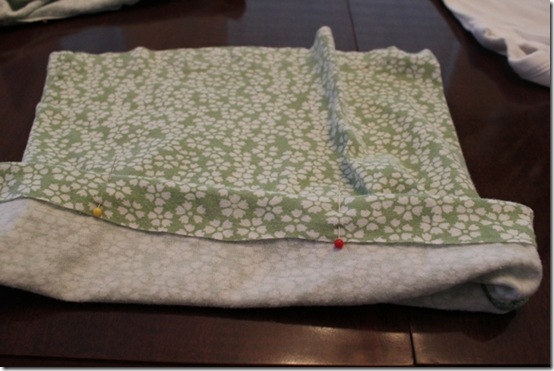
Annnddd here comes the possible gray area…if you’re a professional seamstress, you may want to avert your eyes or just scroll down to the completed project.
I read somewhere, sometime ago that to feed elastic through a pocket, you attach a safety pin to one end and then, making sure the other end is securely attached to the starting position, feed it through until the two ends meet. However, I think I read this pertaining to making a changing pad cover so whether this technique is used on clothes…well, let’s just say it is in my book. :)
So, doing just what I stated above, I fed the elastic through the pocket of my newly-forming skirt. (Tip: Make sure that you feed the elastic through so that it lays flat all the way around and there aren’t any twists in it…my carelessness on this matter left the first little maxi I made with one). 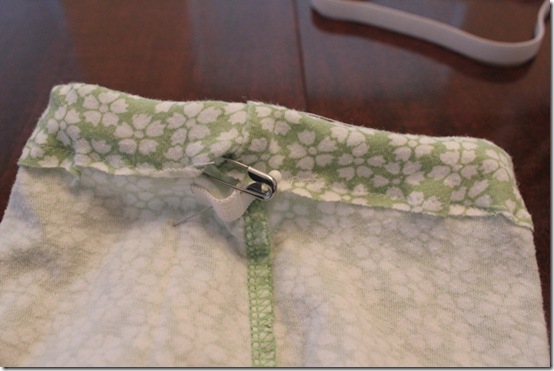
Then, I carefully sewed the two ends of the elastic together using my sewing machine. I actually thought I’d have to hand sew them together at first, being that the elastic was relatively thin but, I put on my big girl panties and just tried to sew them together using my machine and a few back and forth stitches later, I had a perfect union! 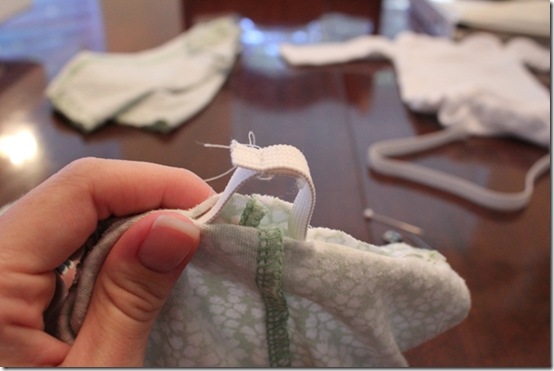
After that, I quickly sewed up the gap I had left to feed the elastic through. 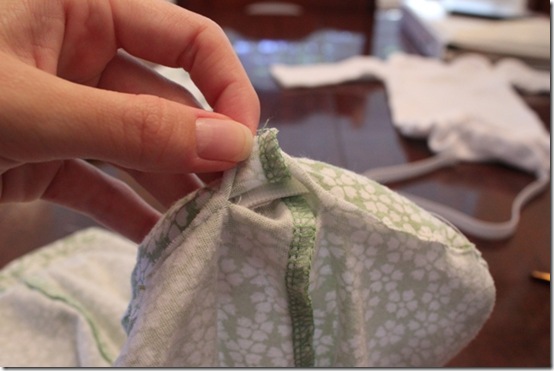
I seriously considered using my two old Minnie Mouse dolls as models but then came back to reality and just paired two cute onesies my friend Lauren embellished for the girls with their new maxis to show the final products. 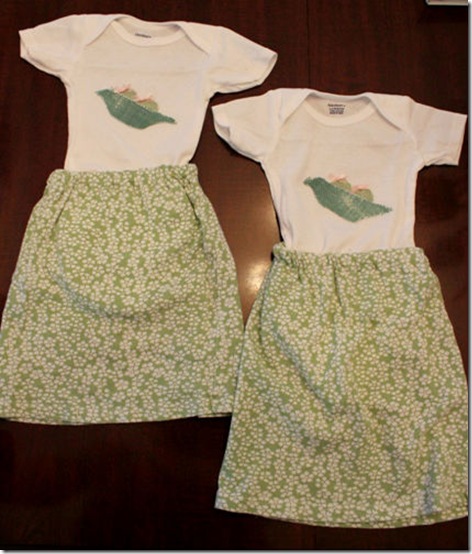
I’m going to go out on an “inexperienced mom” limb and say that they’re hopefully more friendly with diaper changes than pants and will be great for the summer and fall. Now we just need these two to get here…an eviction notice is a couple weeks from being posted. :)
. . .
Before I log off and leave you lovely readers, I thought I’d end with a nursery and kitchen progress update.
Nursery: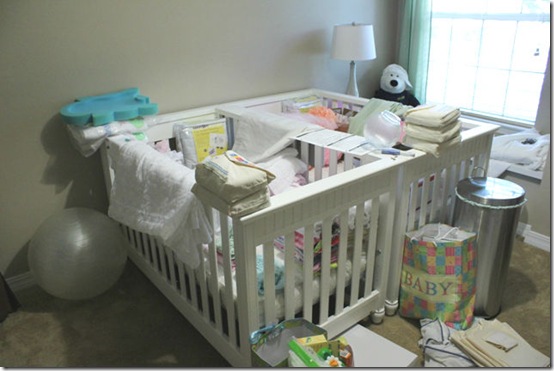 The room is still an ‘organized mess’ but the cribs are assembled and serving the purpose of dresser at the moment.
The closet on the other hand is the only real picture of sanity in the room and is just being added to (or subtracted from once zee dresser arrives) and is also waiting for me to put up some curtains.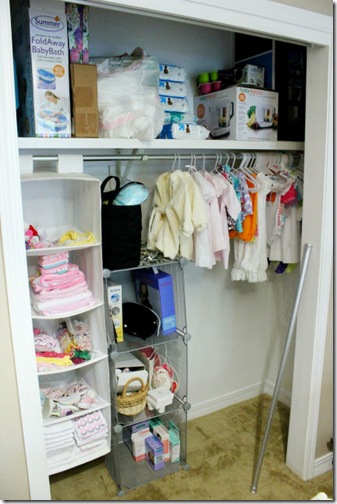
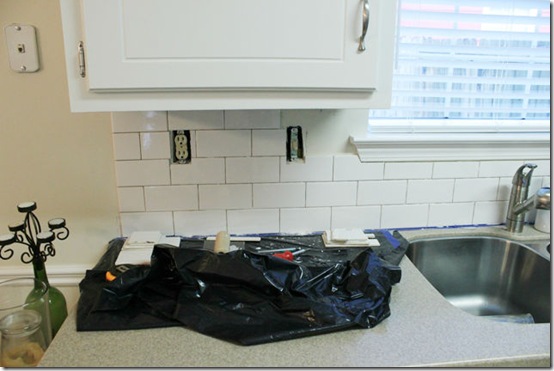
Kitchen progress: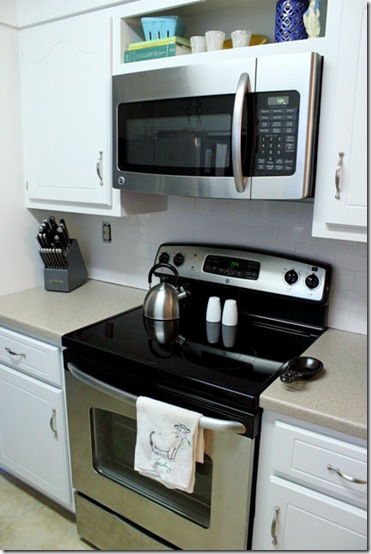 Side uno: Backsplash, done. Caulking and outlet covers replaced, not done.
Of course, once we’re done I’ll write up a whole post about our tiling fun and the happy dance I’ll be doing (the modified ‘pregnancy’ happy dance, that is) at the mere fact that our kitchen makeover will be complete.
Until next time, have a fancy, shmancy weekend! :)





No comments